Email Communications
Publicate Templates
Why Use Publicate Templates?
Using Publicate, our enterprise-level email builder, we created branded templates to help you send more effective emails and newsletters. By providing universally accessible branded tools and resources, our goal is to create a cohesive, unified voice across all organizational internal communications.
Publicate Templates
Whether you’re sending a save the date, newsletter, or announcement, we have pre-made templates for your internal communications.
Simple Communication
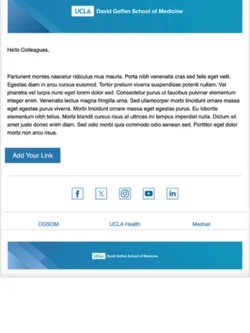
The Simple Communication template is perfect for general, non-event communications. Simply, add your text to the template and a link to more information if needed.

Announcement
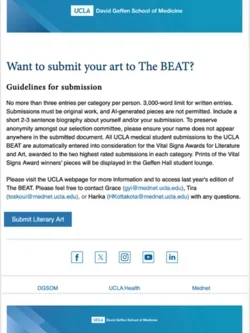
The Announcement template is for non-event announcements. There is an option to add an image and title at the top, as well as a call-to-action button to a website link for more information.

Single Event
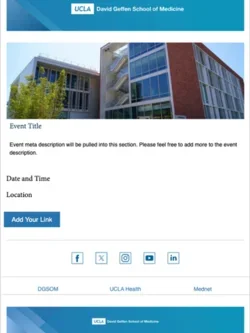
Use this simple event template to create save-the-date and invitations for events. Simply add the event link to a content block to automatically populate the title and description of the event. The template also includes a section to add the date, time, location, and registration link for the event.

Newsletter
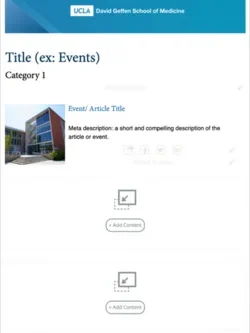
Designed for weekly and monthly newsletters, this template is a stack of content blocks. Simply add the link of the event or article you want to feature, and it will automatically add the title, link, image, and description to the content block.

Introduction to Publicate
How to get access to Publicate
After you verify that you have completed the training videos, we will request IT to add you to the Educational Affairs workspace in Publicate. You will then receive an email with login instructions.
How to find the templates
- Sign in to Publicate
- In the lefthand corner, Use the personal Workspace dropdown to select your workspace: DGSOM Educational Affairs.
- Once you're in your workspace, click Publications. In Publications you will see all the email publications.
- Navigate to the templates folder and find a template that works for your email communication.
Copy the Template
Before you use a template, make a copy of it so that other users will still have access to the clean template.
- Open the template
- Select the Create Template / Copy / Convert icon in the righthand corner
- Select Make a Copy to open your copy
- Rename the copy to your email subject line
Adding Content Blocks
We designed the templates so that you can easily add your text. If you would like to add an additional block of text, image, or article/event listing, you can add a content block.
- Select the plus mark by the area you would like to add your content
- Pick the layout for your content block
- Select Add Content
- Select the type of content that you want to add i.e. text, web link, or image.
- Add your content
Adding a Web Link
For events listings and articles, add a web link to automatically populate the content block with the hyperlinked title and meta description for the article.
- Hover over the image and click edit image to crop or swap out the image
- Add an extra space under the title to ensure that you content
- If needed, make edits to the title and meta description
Adding Images
You have the option to upload and insert images into the email or choose from the images available in our image library.
To access the image library:
- Explore the image folders on the lefthand side
- Simply drag the image into a content block
Sending your Publicate Email
Installing the Browser Extension
Installing the Publicate browser extension is easy. Follow instructions when you get to the Chrome store and it will add the extension to your browser.
Compose Your Email
- On a Chrome browser, login to your Outlook email.
- Open up a new email
- Select the publication you want to send (it will show recent publications first)
- Click insert publication in the email editor
- Make sure everything is formatted correctly
- If there are any formatting errors, go back to Publicate and recreate the content block that is formatted incorrectly. Then, compose a new email and insert the updated publication.
- Before sending the email to a listserv, test it out by sending the email to a colleague (it's also hepful to test on both Mac and PC computers).
- Once you've finished testing and everything looks good, send your email!