Basic Options in the WYSIWYG Content Editor
To use the WYSIWYG content editor, you need to first add a text component in Layout Paragraphs. Please review the Layout Paragraphs page if you have not already done so.
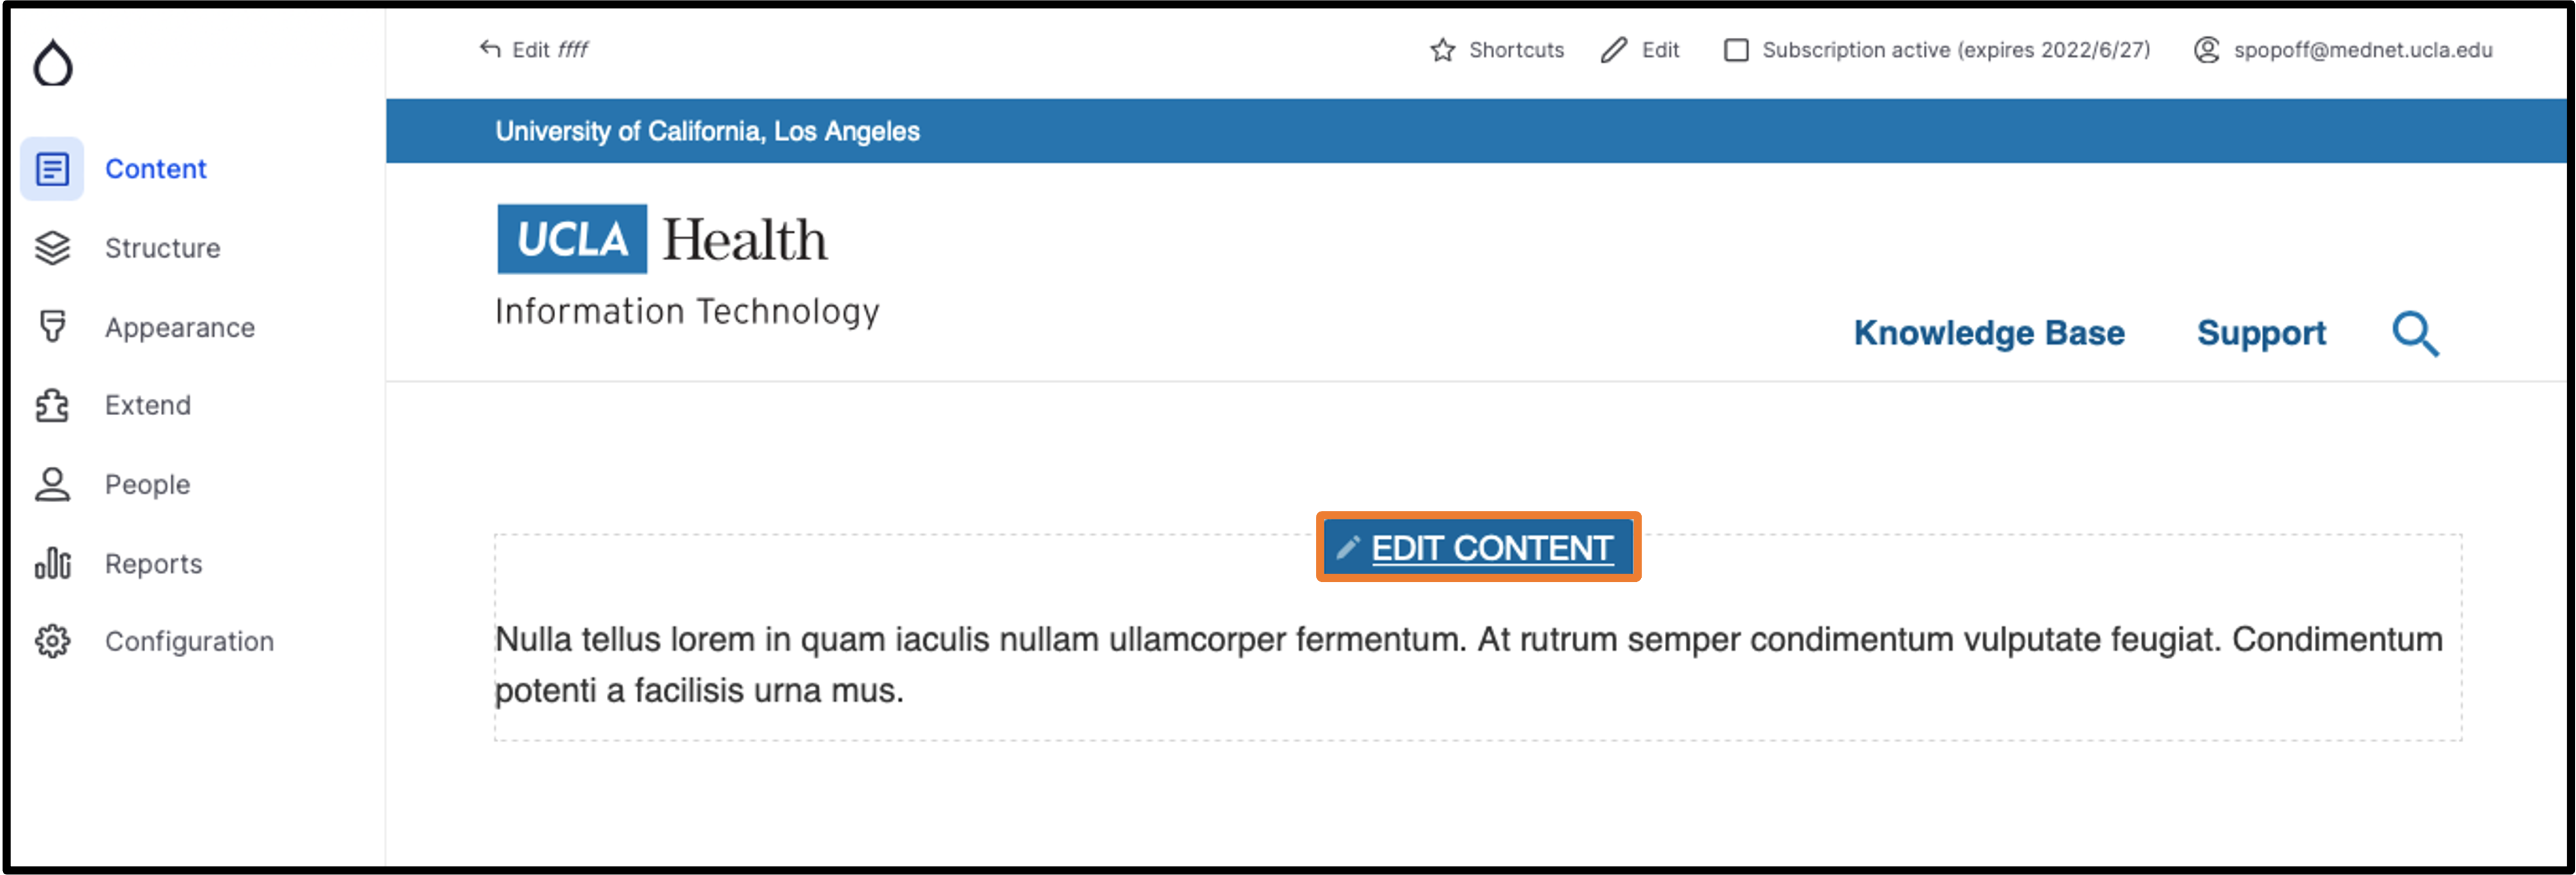
Accessing the WYSIWYG Content Editor
-
Go to the desired page where you want to add content.
- Select the Edit Content.
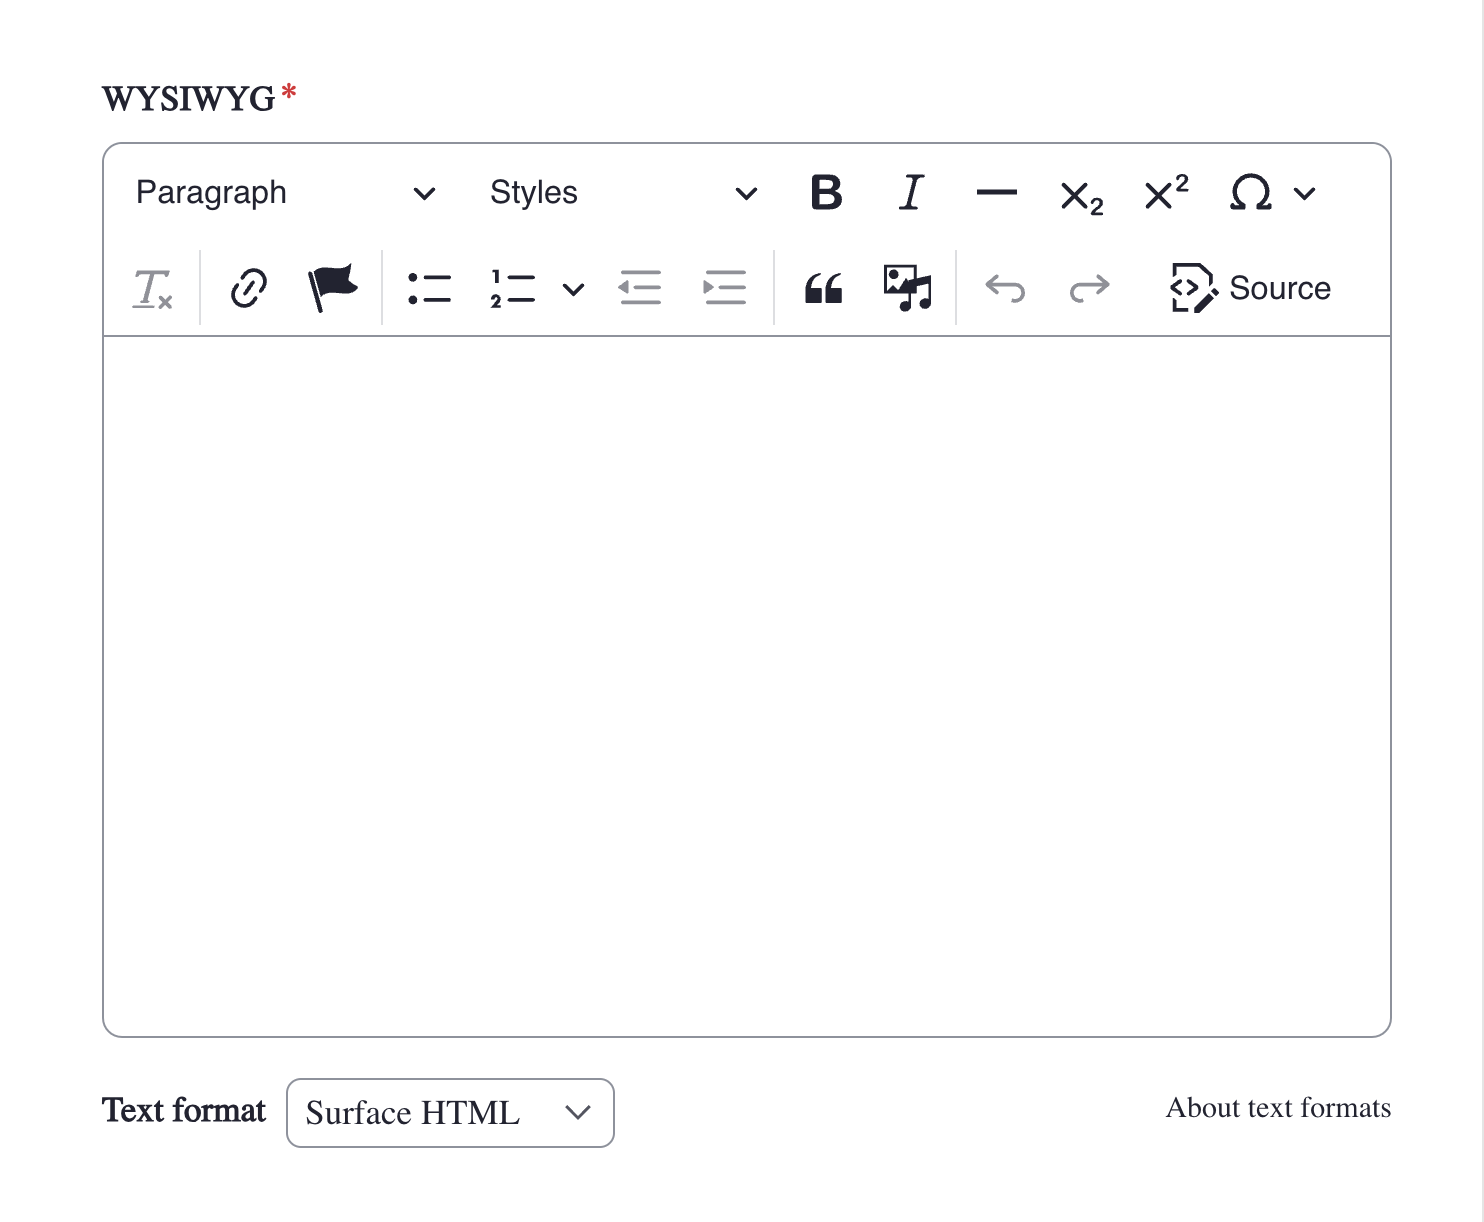
- Hover your mouse over the component until the pencil icon appears in the top left corner of the component and click the pencil icon.
-
You will now see the WYSIWYG content editor. Further details explaining each option in the WYSIWYG Content Editor are provided below.
Explanation of the WYSIWYG Content Editor.
Paragraph
Format - Allows you to select the type of text you are entering so that the appropriate color and size can be applied.
Styles
Styles - Select additional formatting for your text. The options depend on the type of text selected. e.g. If you select a bullet list, you are able to change the bullets from a numbered list to an alpha list.
Insert Special Characters - WYSIWYG characters, special unicodes for subscripts, superscripts, and proper accents.
Insert from Media Library - Select to insert media (audio, documents, images, and videos).
Saving
- Scroll to the very bottom of the page.
- Choose the appropriate option from the Save As dropdown menu (If available).
- At the bottom of the page, click Save.