Review of Page (Layout Paragraphs)
Logging in to Your Website
- Enter your website and add /user at the end of the path (e.g., it.uclahealth.org/user).
- You will be routed to the login page where you can sign in with your Mednet credentials.
Sections
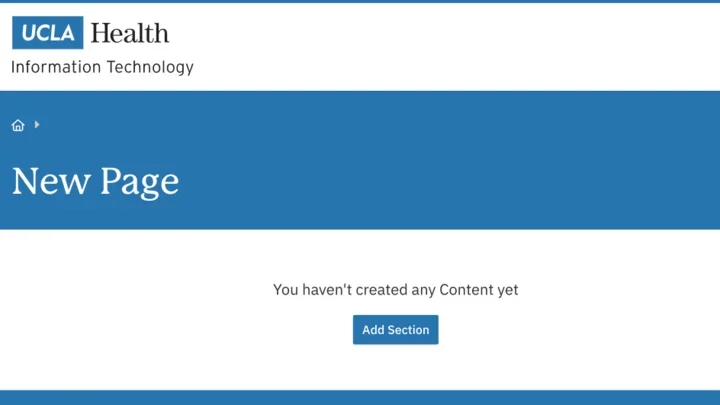
Before you can add your content, you need to first add a section. A section is a container that holds a component. (See below for more information on components.) You can select the number of columns in a section. You are also able to set how much spacing there is between components.
Adding a Section
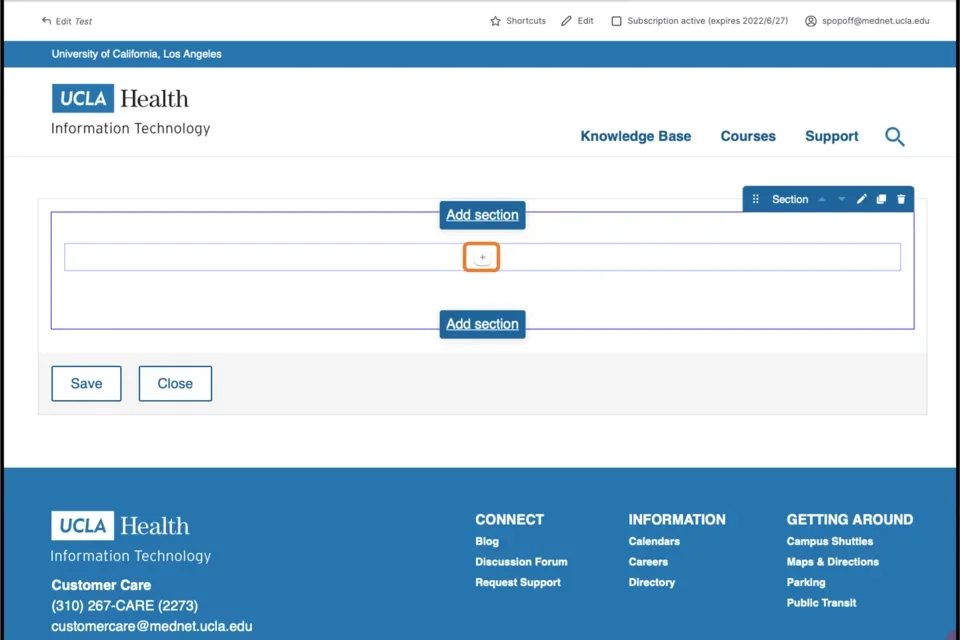
Click Add section.

- Select the layout with the appropriate number of columns.
- Expand Layout Options.
- In the Constraints section, you can select Full Width if you would like your section to span the entire width of the page.
- In the Spacer section, you can select the amount of additional space you would like below the section.
Note: By default, there is no space below a section. - Expand the Content region. Note: Applies only to One Column Sections.
- In the Display section, you can select Columns to place your section horizontally. This should be used only with the Icon component.
Components
You can use many types of components to customize your content. Once you have created your components, you can easily drag and move them to the new location. It is simple to copy and delete components in Layout Paragraphs. Learn more about how to use these features. (Refer to the Layout Paragraphs page for more detailed instructions.)
Adding a Component
Click the plus icon where you want to place the component.

- Select the desired component.
- Complete the needed fields.
- Expand the Additional options section.
- Complete the needed fields.
- Click Save.
Saving
- Scroll to the very bottom of the page.
- At the bottom of the page, click Save.