Tables Component
Creating Components
What is a Table?
Tables should be used only for tabular data and when no other component will display the information properly. When data is added to a table that could be in another content type, it is difficult for individuals using accessibility tools to understand the message you are trying to convey.
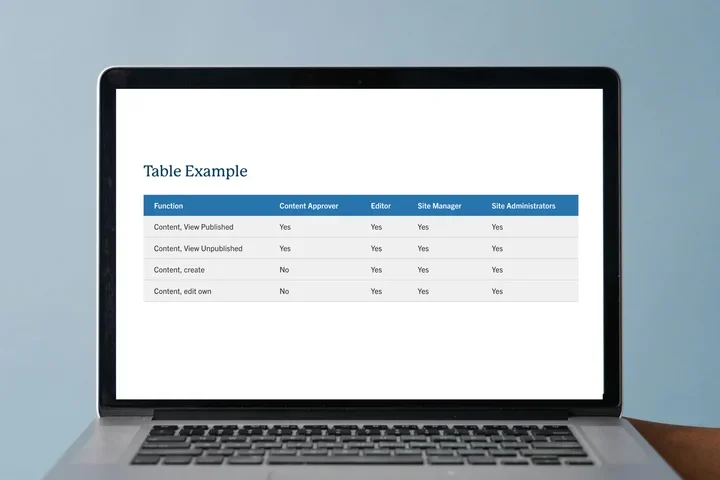
Table Example
| Function | Content Approver | Editor | Site Manager | Site Administrators |
|---|---|---|---|---|
| Content, View Published | Yes | Yes | Yes | Yes |
| Content, View Unpublished | Yes | Yes | Yes | Yes |
| Content, create | No | Yes | Yes | Yes |
| Content, edit own | No | Yes | Yes | Yes |
Step-by-Step Instructions
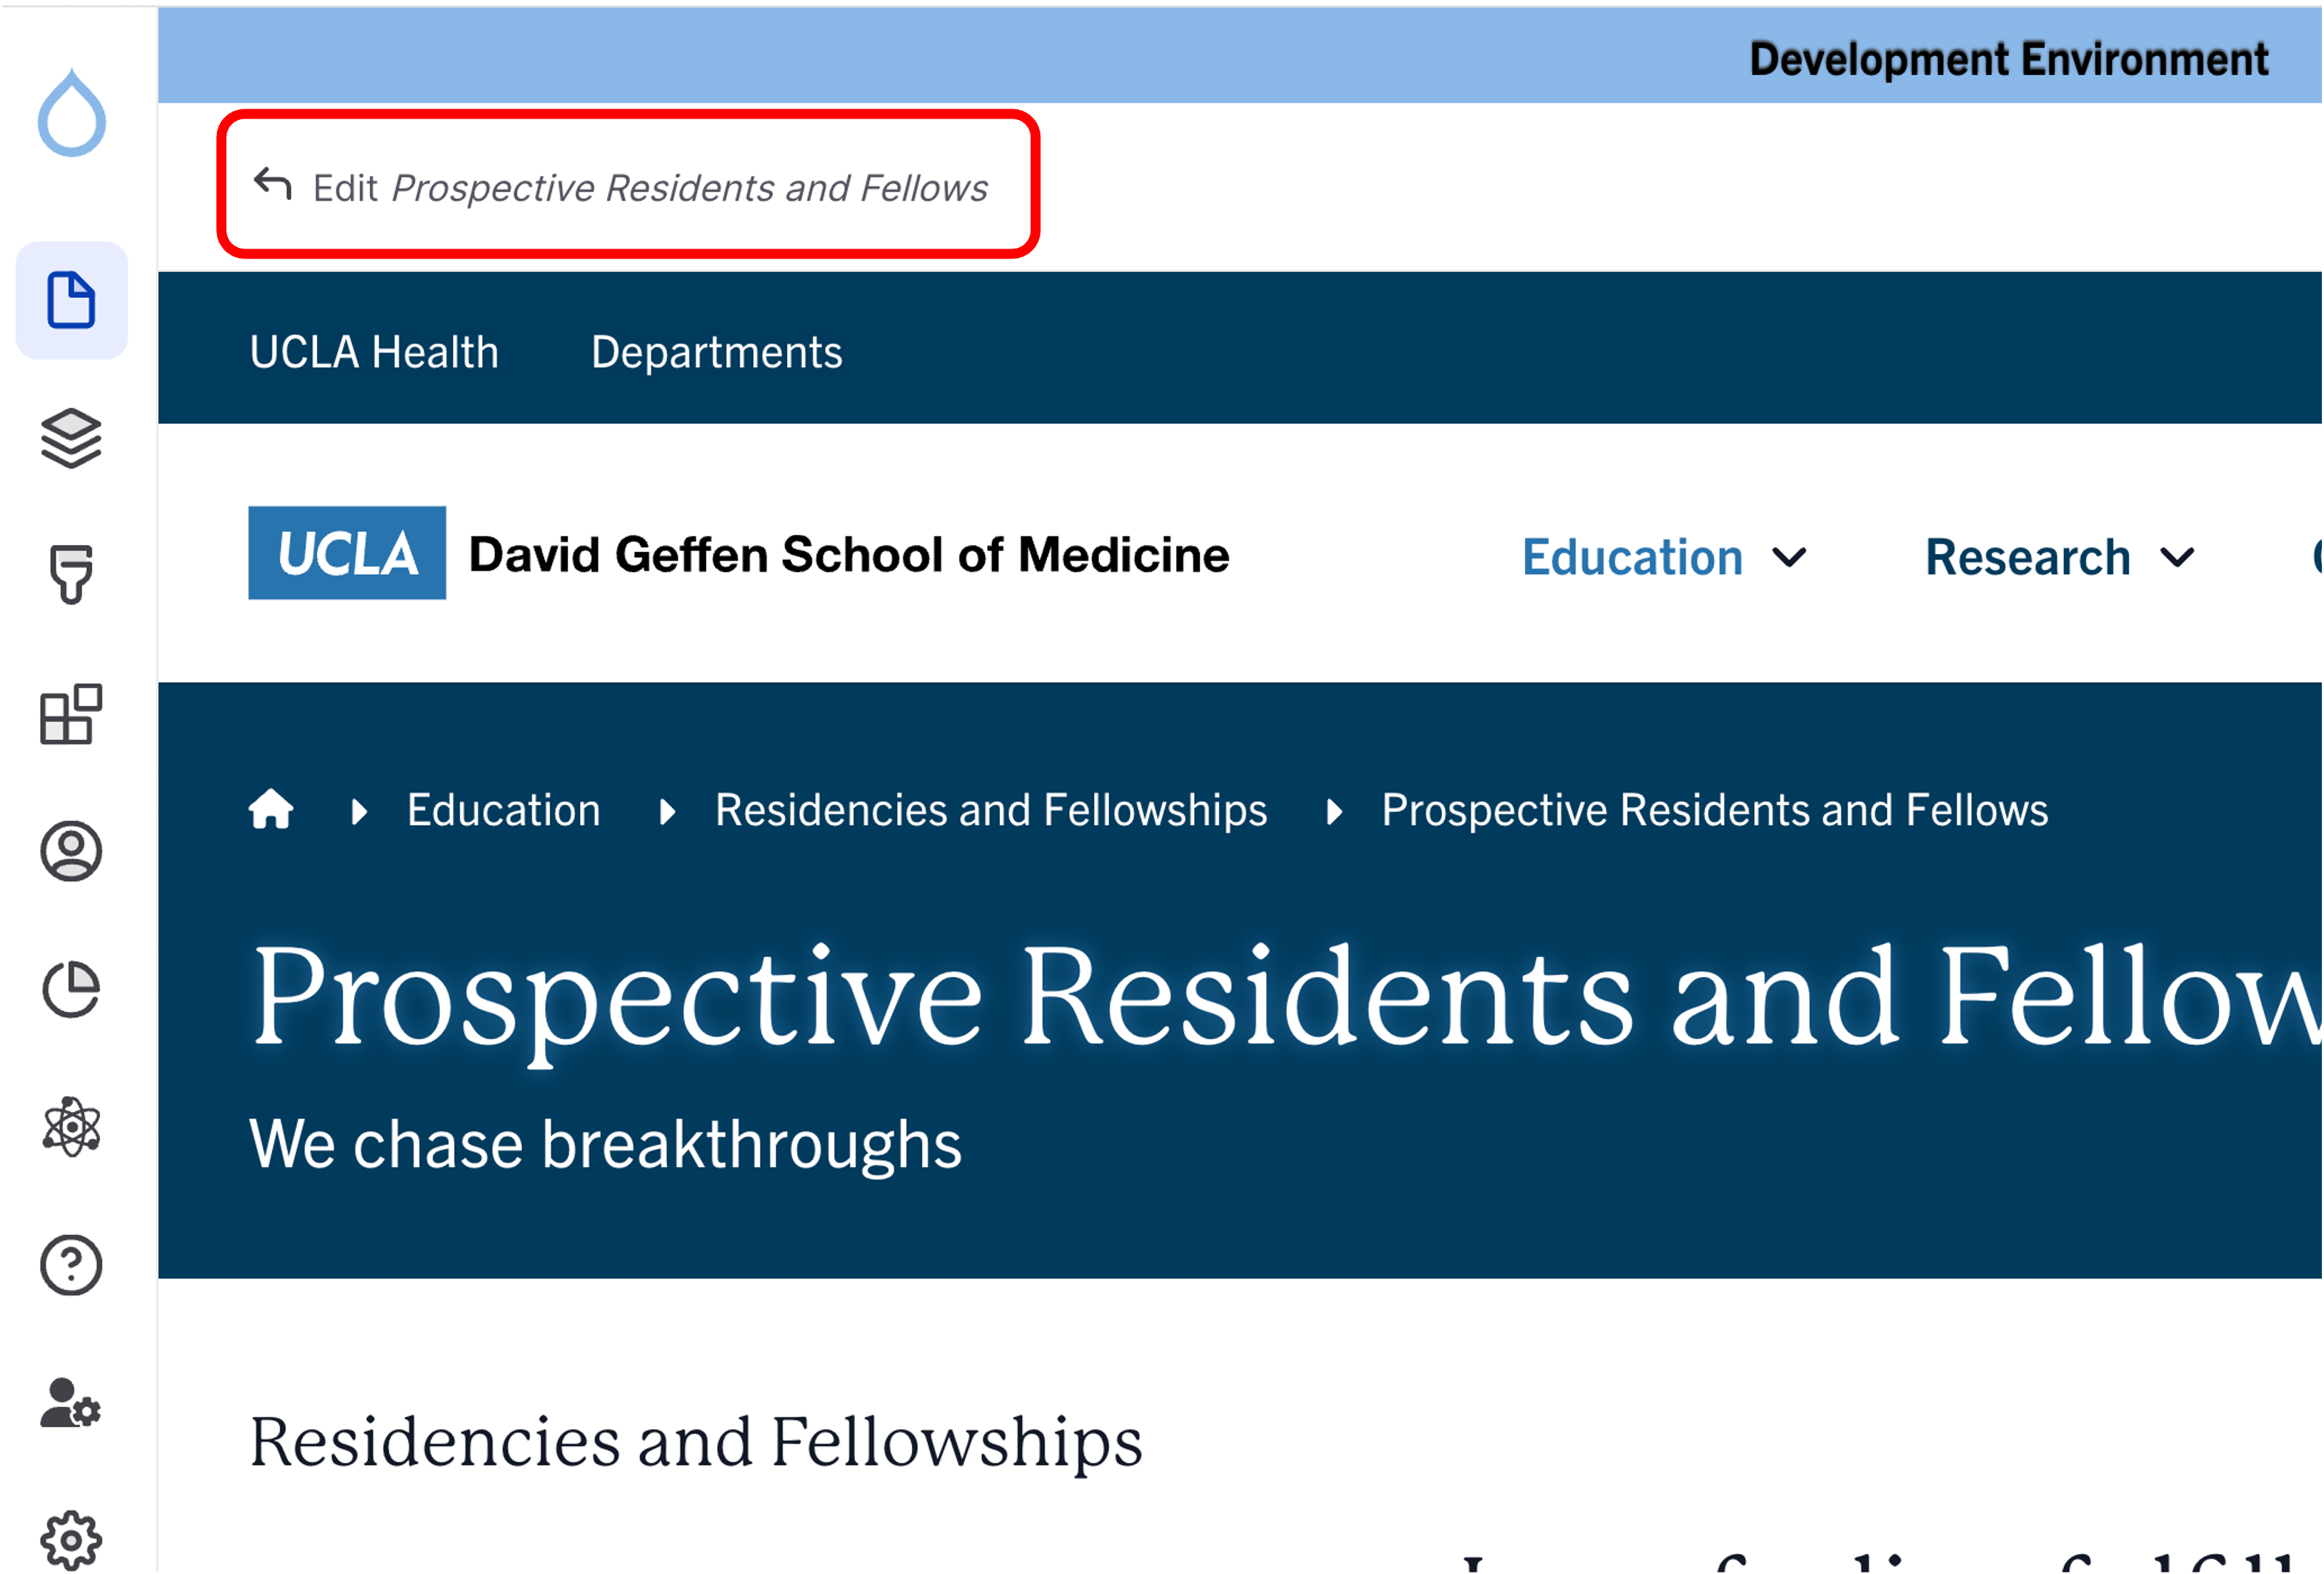
- Click the edit link at the top of the page
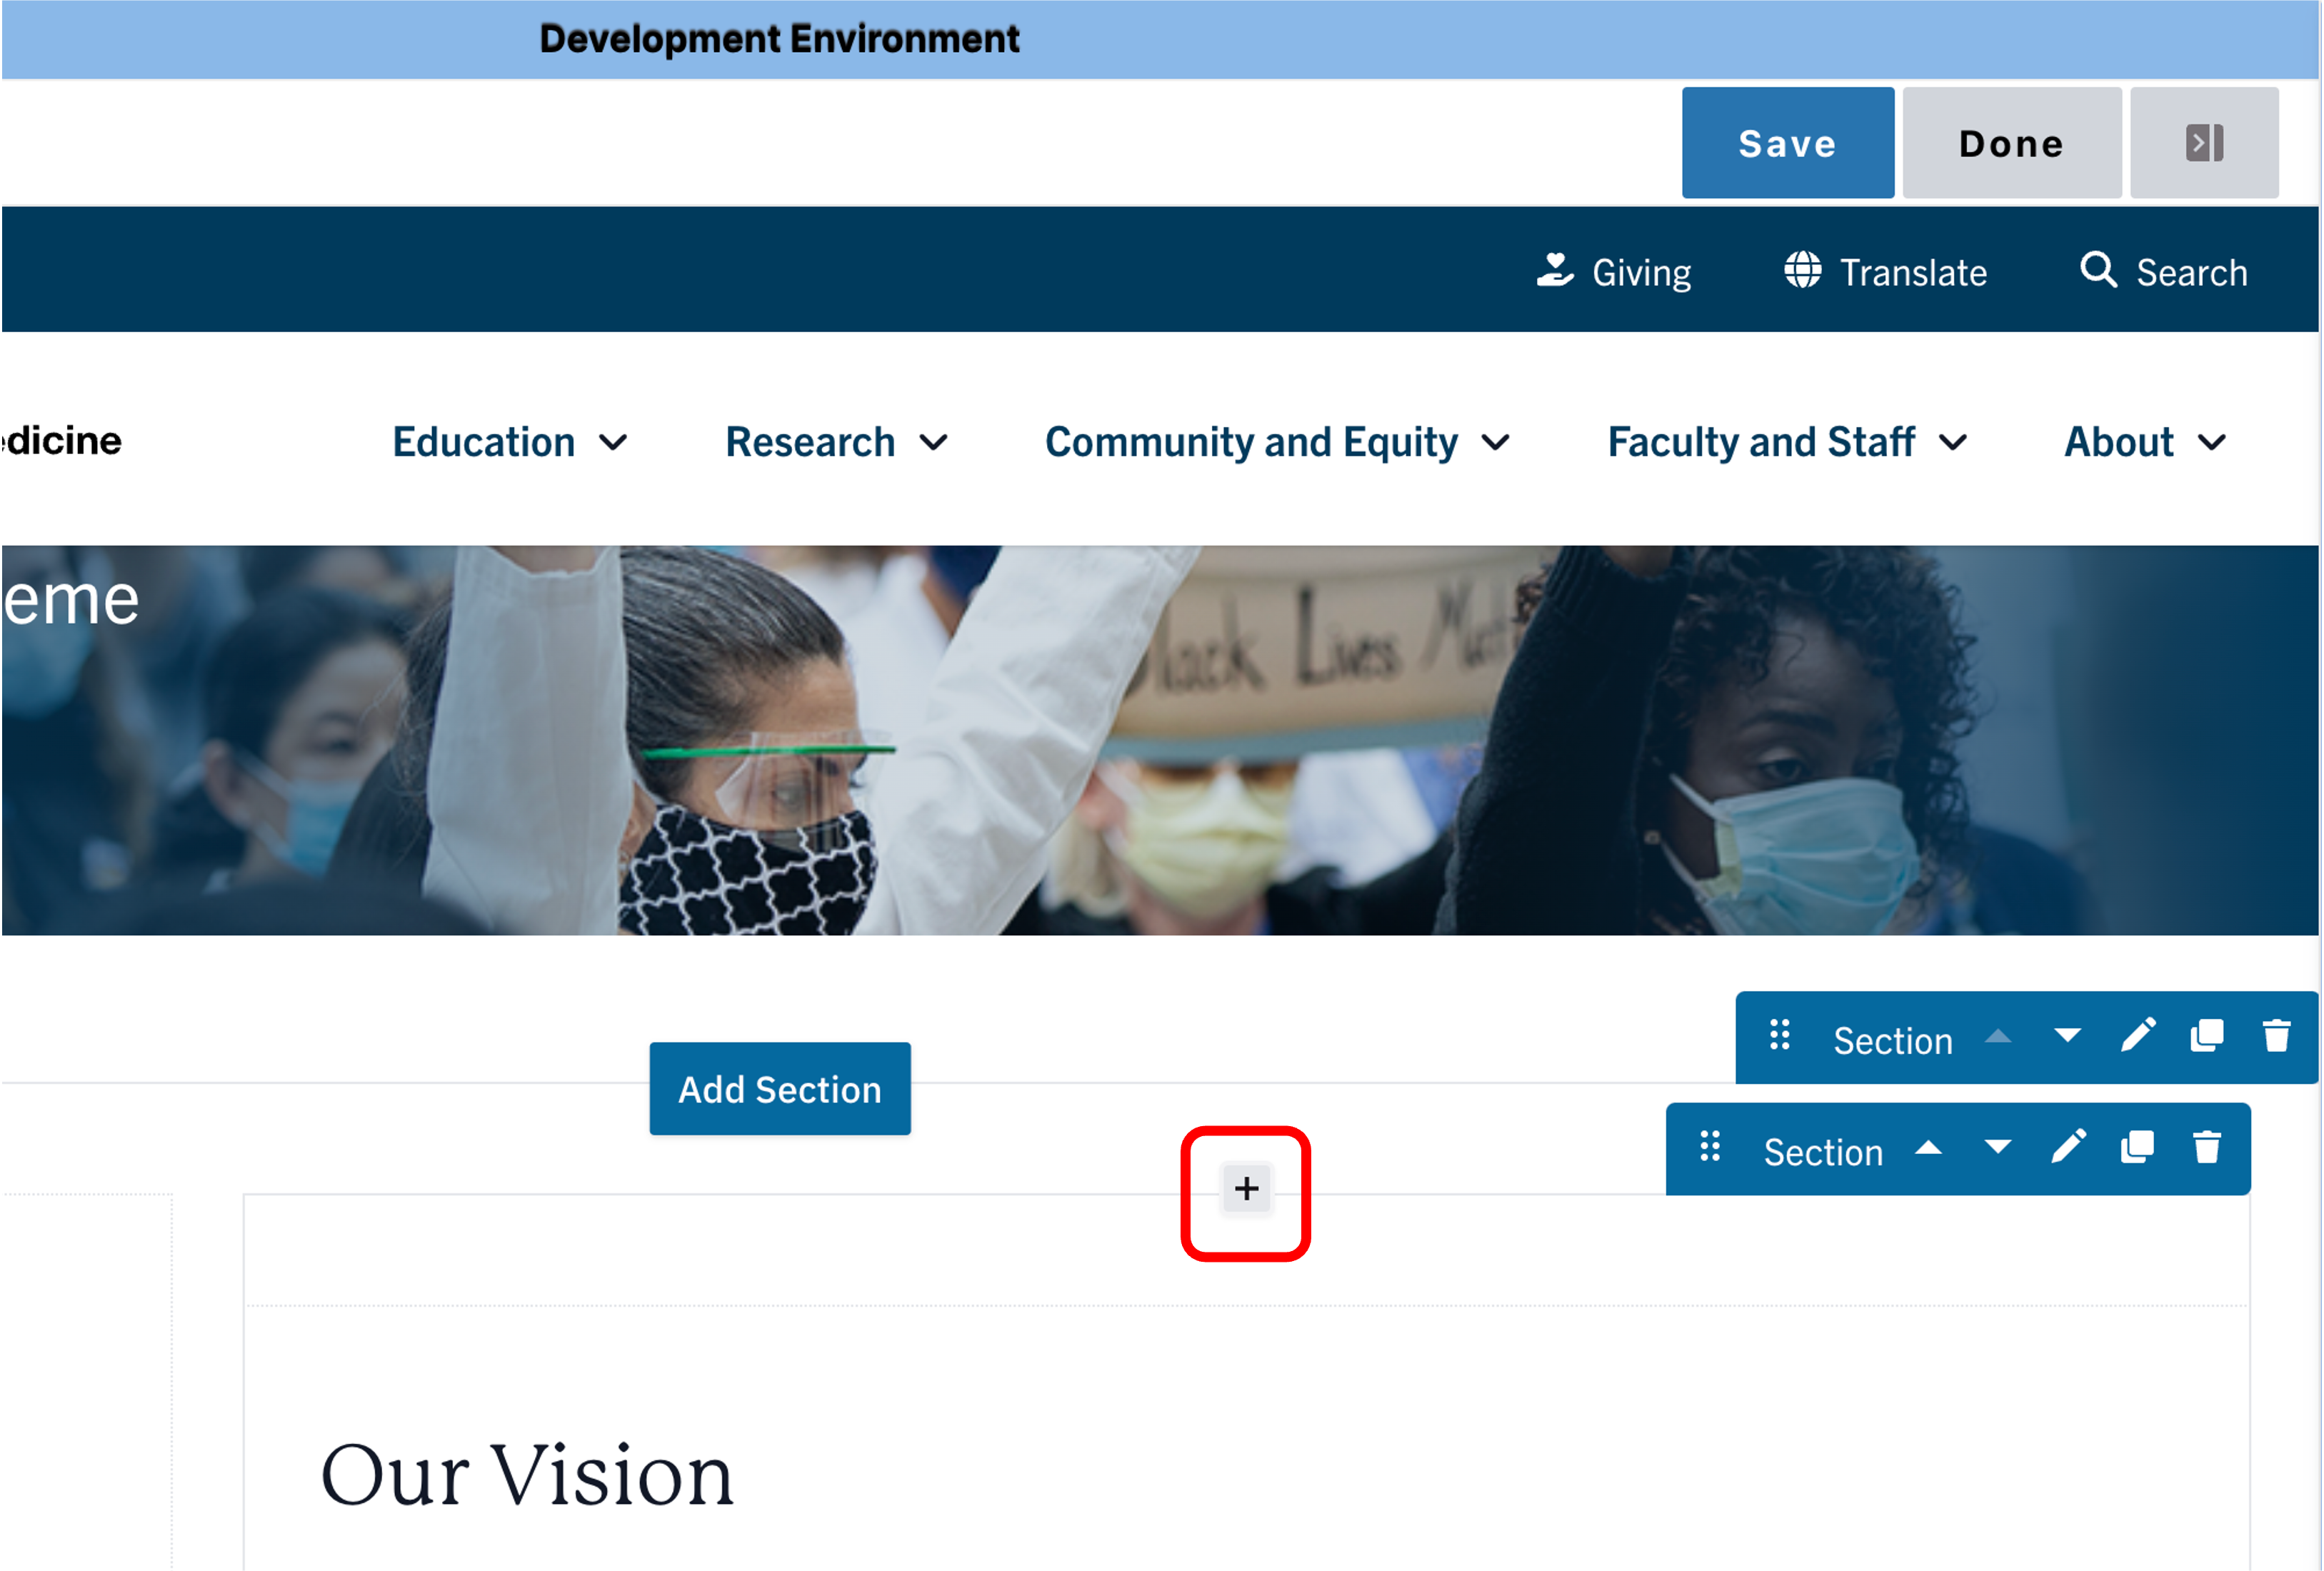
- Move your cursor where you want to place the component.
- Click the plus icon.
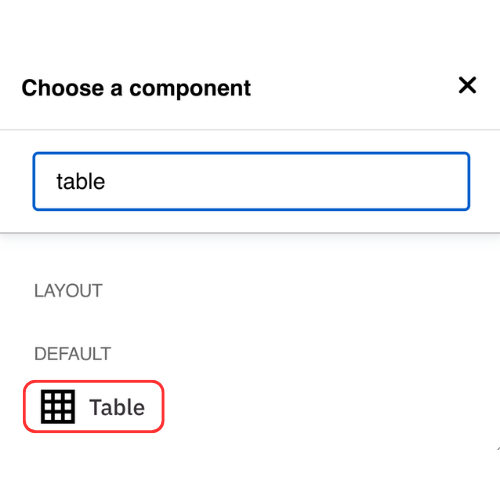
- Select Table from the menu
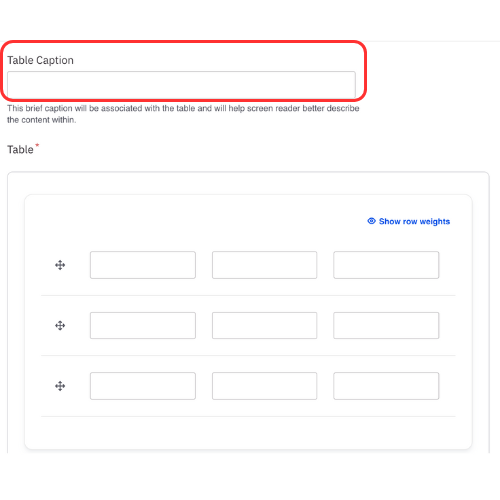
Content
- Add a Title Caption (optional).
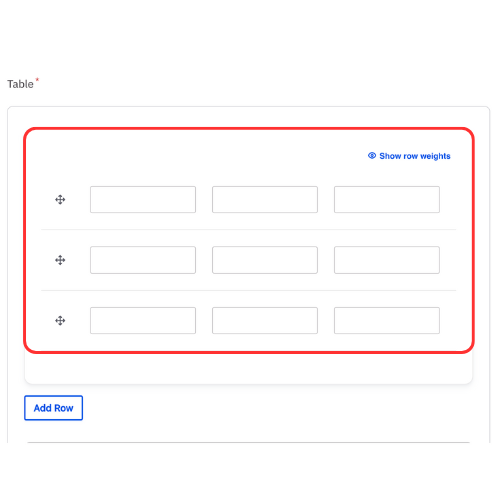
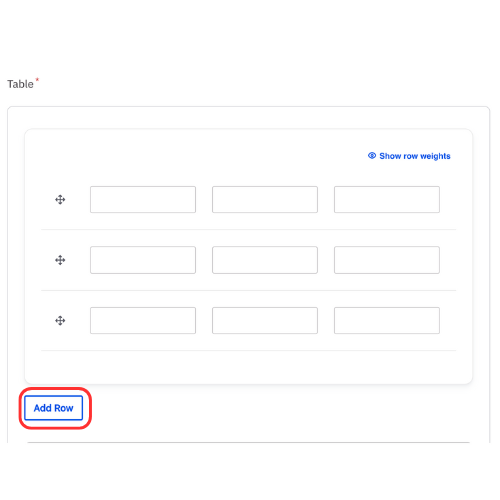
- Add table content.
Note: The table will properly display HTML code added to the cells. Only basic HTML code should be used such as adding a URL. - Add a single row at a time.
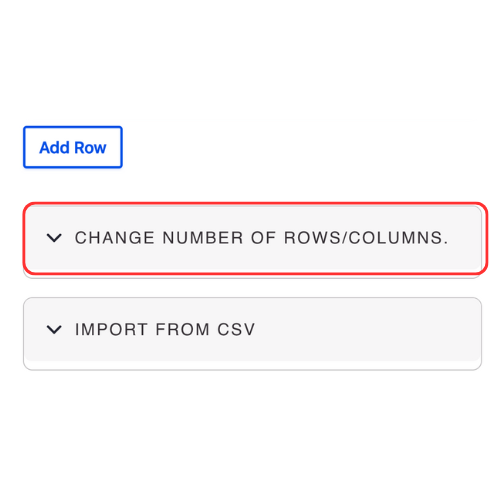
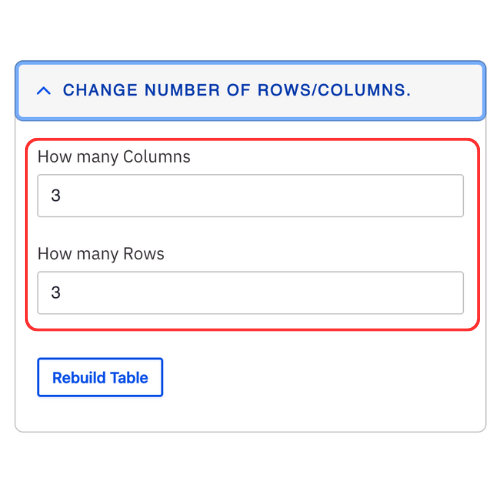
- Expand the Change number of rows/columns if you would like to add multiple rows and columns at once.
- Change the table size as needed.
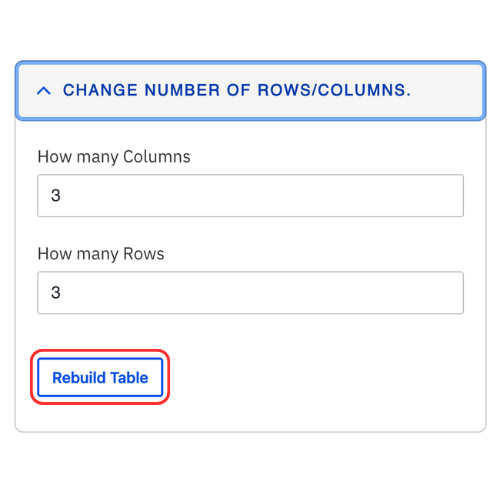
- Click Rebuild Table.
Note: When you rebuild the table any content already added will not be lost unless you remove the cells. - The Table Component can accept some basic HTML code. Below is the code that the Table can accept. You must follow accessibility standards when using HTML code
- <b> Bold text</b>
- <i>Italic text</i>
- <a href="https://www.medschool.ucla.edu">Sample Link</a>
- <a href="mailto:email@sample.com"target="_blank"> Sample Email </a>
- <a href="tel:5556667777"target="_blank">Call us at 555-666-7777</a>
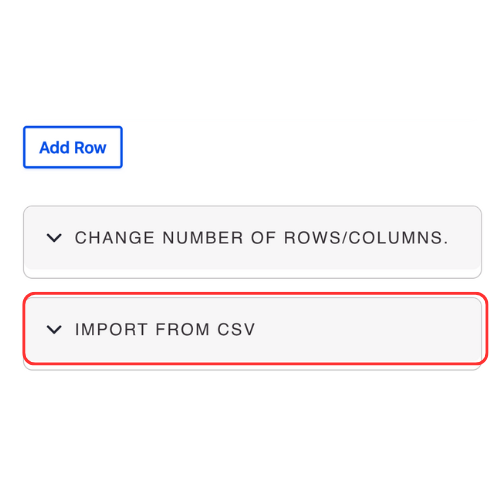
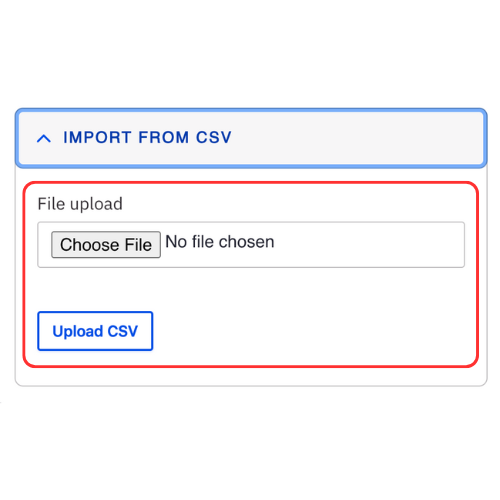
- Expand the Import from CSV if you would like to upload a CSV file to complete your table.
- Click Choose file and select the file from your computer.
- Click Upload CSV.
Styles
- Toggle to the Styles tab.
- Select the appropriate Layout Option based on your desired layout. (see below for examples).

Save
- Click Save.
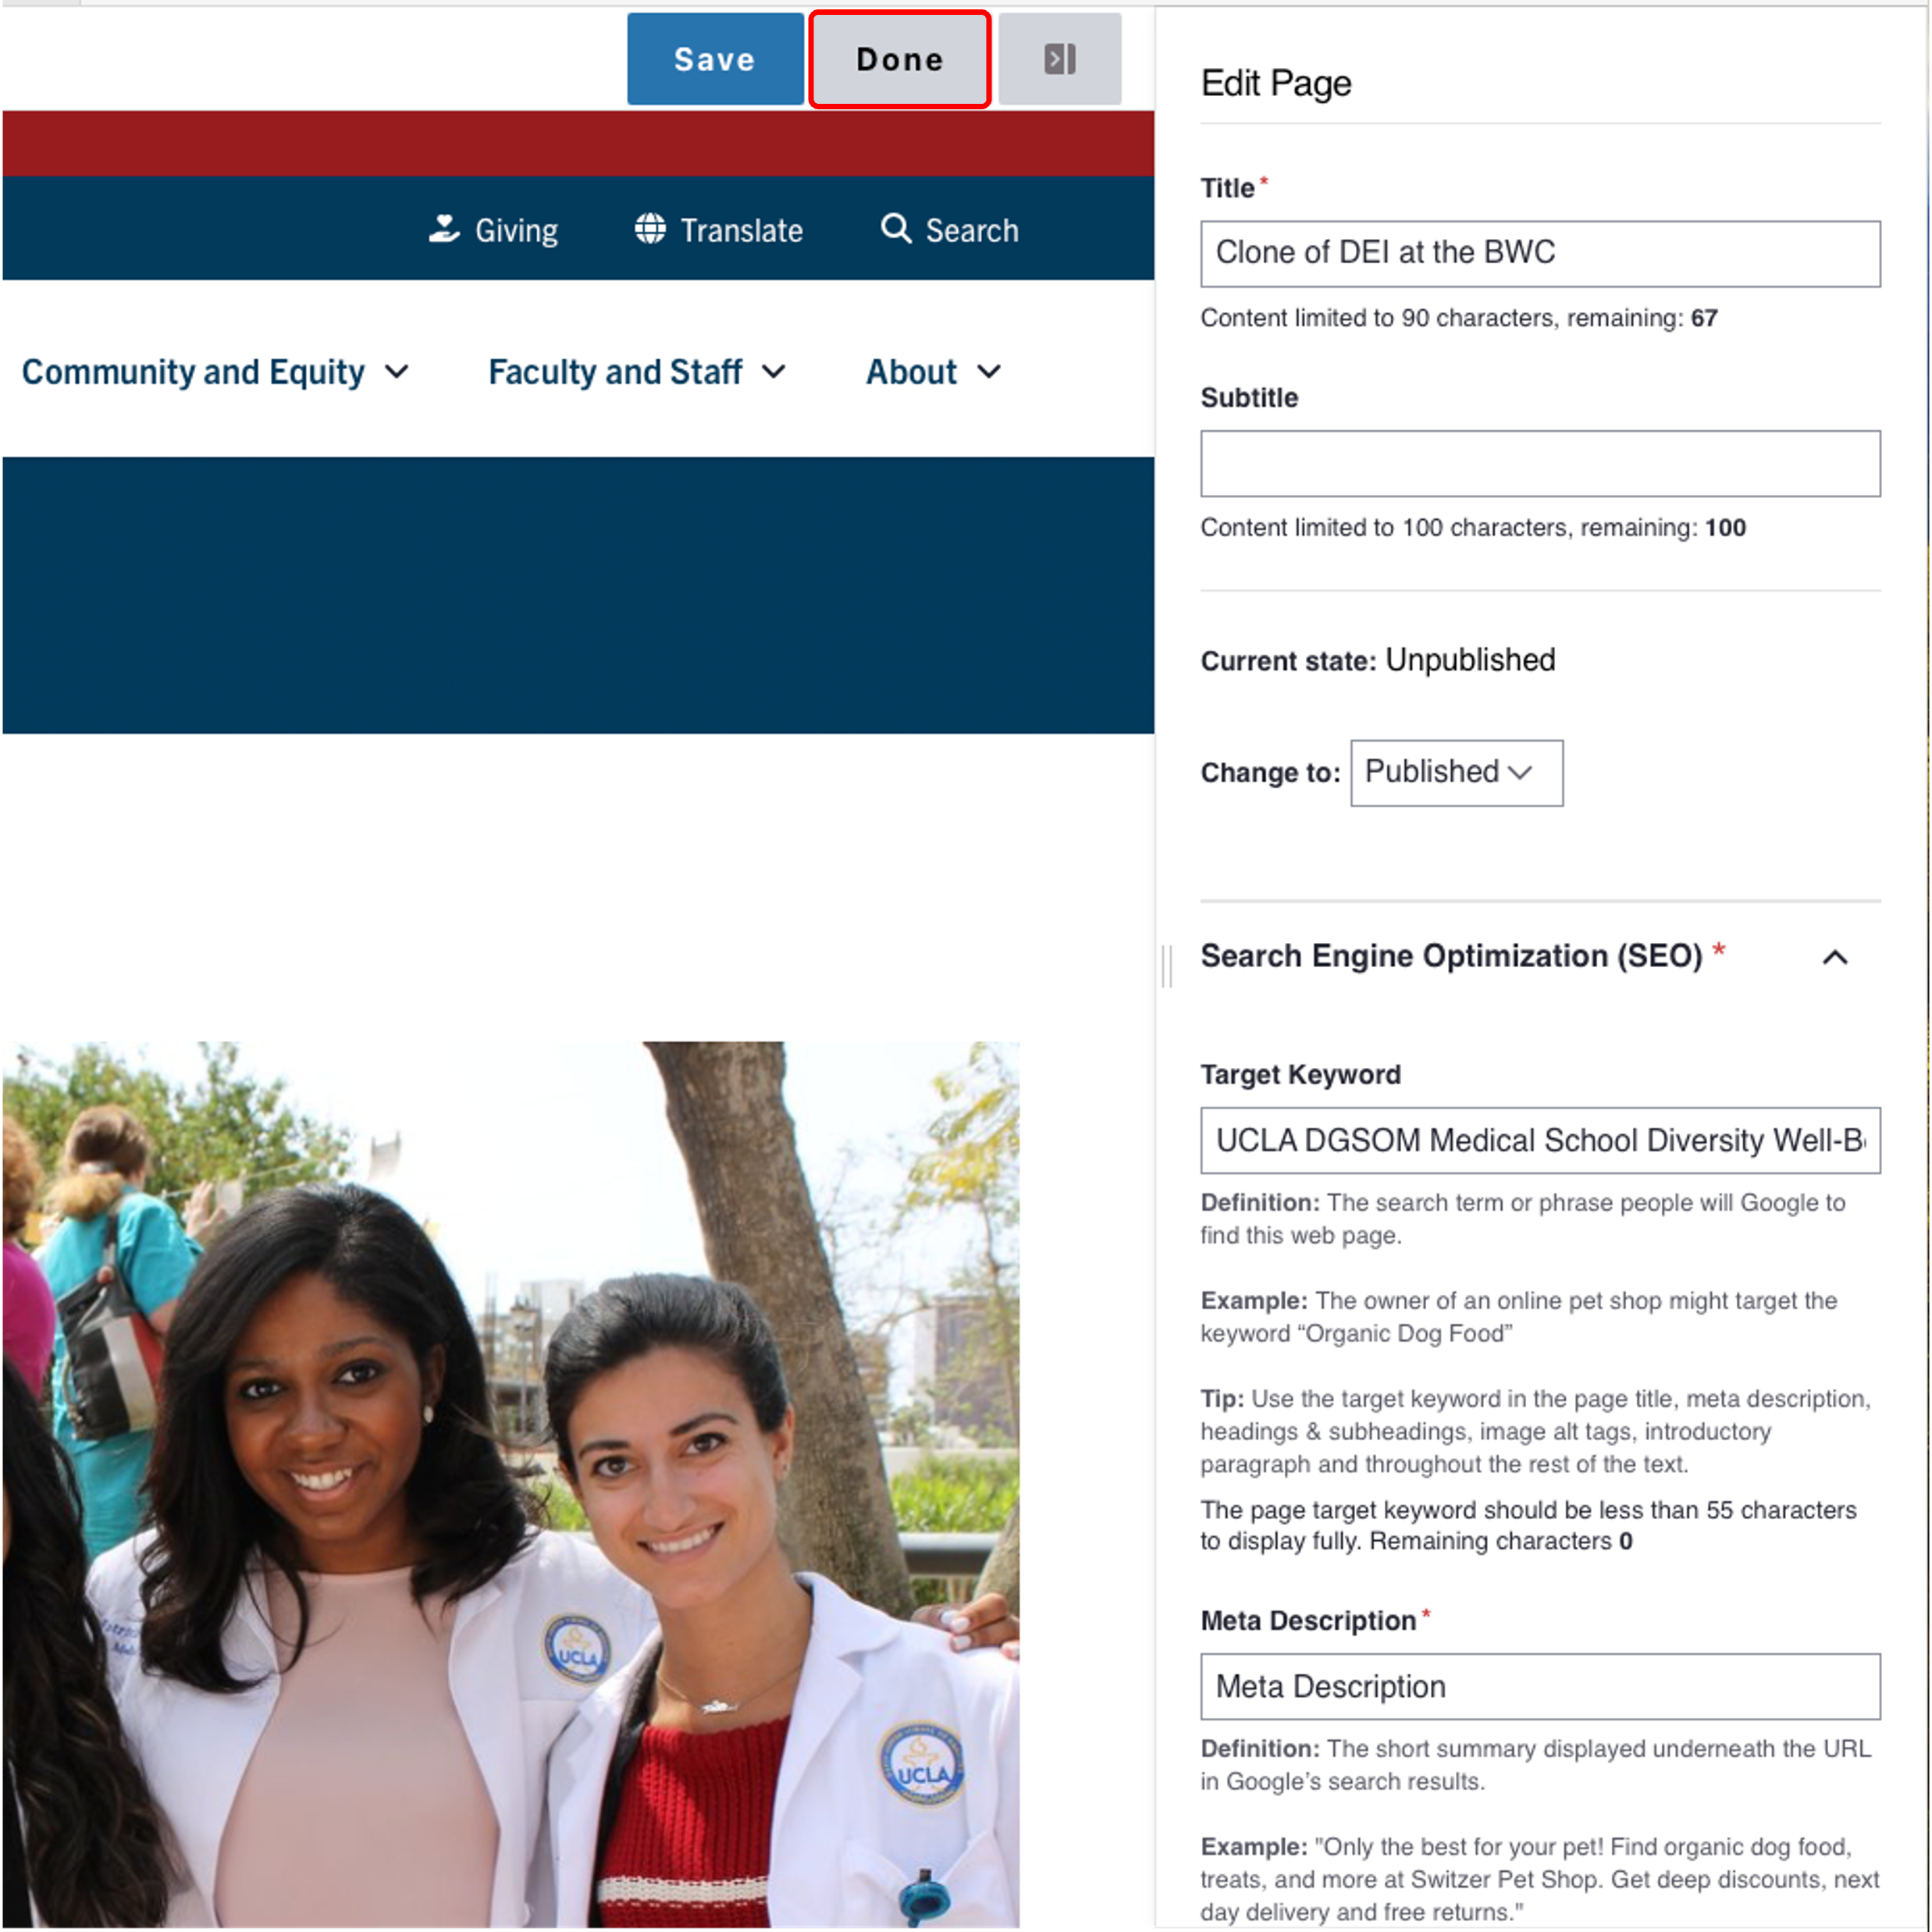
- Scroll to the top of the page and click Save.
- Click the Done button beside the save button.
Note: This will display the page in the closest representation of how site visitors will view it. All links and actions that are disabled in editing mode will be functional now.
Style options
- Layout Options settings used to create this component are: Table type: Default
| Function | Content Approver | Editor | Site Manager | Site Administrators |
|---|---|---|---|---|
| Content, View Published | Yes | Yes | Yes | Yes |
| Content, View Unpublished | Yes | Yes | Yes | Yes |
| Content, create | No | Yes | Yes | Yes |
| Content, edit own | No | Yes | Yes | Yes |
- Layout Options settings used to create this component are: Table type: No Border
| Function | Content Approver | Editor | Site Manager | Site Administrators |
|---|---|---|---|---|
| Content, View Published | Yes | Yes | Yes | Yes |
| Content, View Unpublished | Yes | Yes | Yes | Yes |
| Content, create | No | Yes | Yes | Yes |
| Content, edit own | No | Yes | Yes | Yes |
- Layout Options settings used to create this component are: Table type: Hover
| Function | Content Approver | Editor | Site Manager | Site Administrators |
|---|---|---|---|---|
| Content, View Published | Yes | Yes | Yes | Yes |
| Content, View Unpublished | Yes | Yes | Yes | Yes |
| Content, create | No | Yes | Yes | Yes |
| Content, edit own | No | Yes | Yes | Yes |
- Layout Options settings used to create this component are: Table type: Striped
| Function | Content Approver | Editor | Site Manager | Site Administrators |
|---|---|---|---|---|
| Content, View Published | Yes | Yes | Yes | Yes |
| Content, View Unpublished | Yes | Yes | Yes | Yes |
| Content, create | No | Yes | Yes | Yes |
| Content, edit own | No | Yes | Yes | Yes |
- Layout Options settings used to create this component are: Table type: Primary
| Function | Content Approver | Editor | Site Manager | Site Administrators |
|---|---|---|---|---|
| Content, View Published | Yes | Yes | Yes | Yes |
| Content, View Unpublished | Yes | Yes | Yes | Yes |
| Content, create | No | Yes | Yes | Yes |
| Content, edit own | No | Yes | Yes | Yes |
- Layout Options settings used to create this component are: Table type: Primary hover
| Function | Content Approver | Editor | Site Manager | Site Administrators |
|---|---|---|---|---|
| Content, View Published | Yes | Yes | Yes | Yes |
| Content, View Unpublished | Yes | Yes | Yes | Yes |
| Content, create | No | Yes | Yes | Yes |
| Content, edit own | No | Yes | Yes | Yes |
- Layout Options settings used to create this component are: Table type: Primary striped
| Function | Content Approver | Editor | Site Manager | Site Administrators |
|---|---|---|---|---|
| Content, View Published | Yes | Yes | Yes | Yes |
| Content, View Unpublished | Yes | Yes | Yes | Yes |
| Content, create | No | Yes | Yes | Yes |
| Content, edit own | No | Yes | Yes | Yes |