Article
Managing Your Articles
Articles are used for time-sensitive information, such as news, blogs, or announcements. By default, Articles are sorted with the most recent post at the top.
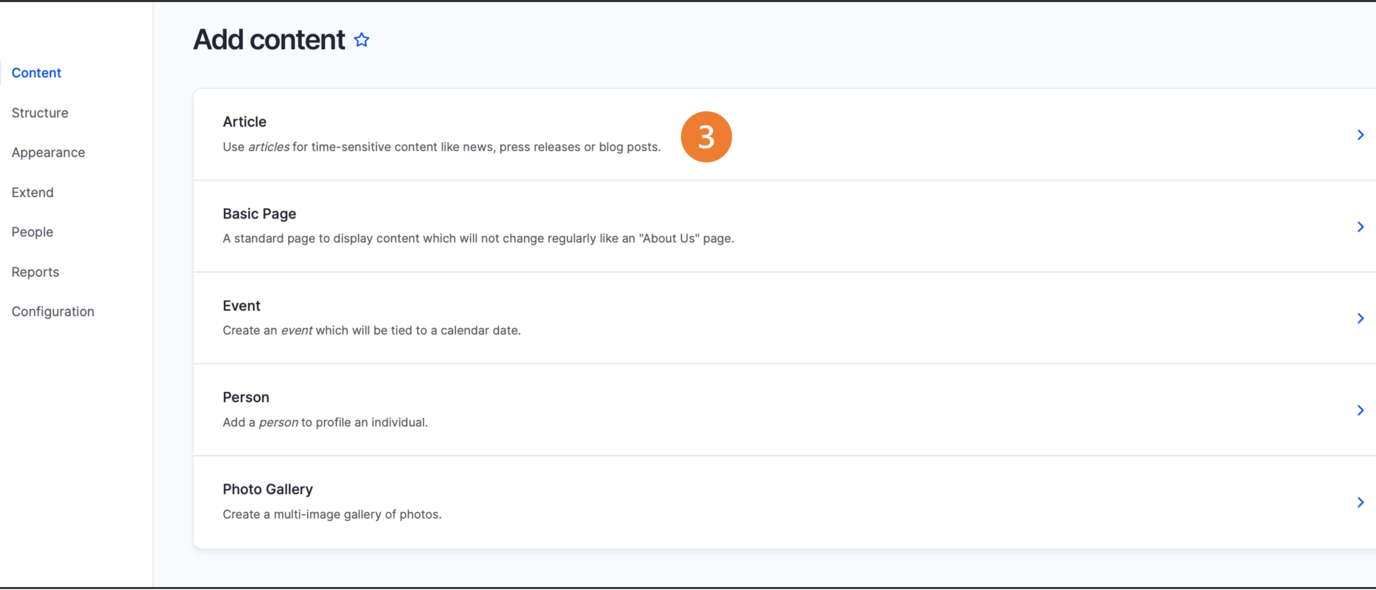
How to create an article
- Click Content on the second panel.
- Click the Add Content button.
- Select Article from the list of content types.
-
Fill out the event form.
-
Title [required] - The text entered in the title field will be included in the breadcrumbs and will become the page's URL unless otherwise configured. When linking to this Article from other locations, you'll locate it using the Article's Title information.
-
Subtitle [recommended] Add a subtitle.
-
Byline - [required] List the authors of the article.
-
Body [required] - Use the WYSIWYG interface to write the main content for your Article.
-
Media Library [optional] - Select the Paper Clip icon to upload documents.
-
Featured Media [required] - Articles require Featured Media in order to display thumbnails when Articles are displayed as lists. Once uploaded, the image will display below the page title and as thumbnails in Article Views.
-
-
Search Engine Optimization (SEO)
-
Target Keyword – The search term or phrase people will Google to find this web page.
-
Meta Description – [recommended] The short summary displayed underneath the URL in Google’s search results as well as the Web Platform search page.
-
Social Media Image – Adding a “social media image” will ensure the page is properly optimized for sharing across social media sites like Facebook and Twitter.
-
Original Source URL – If you want to repost an article published elsewhere, the Original Source URL ("canonical tag") will tell the search engines that this page is just a copy, and the spiders should index and feature the original source in their results.
-
- Search Listing Options
- Article Type – Choose a classification for this article. An article, by default, can be sub-typed as an article, news, or blog.
- Topic – Select a primary topic from our pre-selected set of categories.
- Tags – To add your own tag, enter a keyword that will help to classify this article. As you type an autocomplete dropdown will show matching terms already saved on the site.
- Scheduling Options
- To publish content on a specific date:
- Publish On - Enter the date and time when you want to publish your page.
- Publish State - From the dropdown menu, change to Published.
- To unpublish content on a specific date:
- Unpublish On - Enter the date and time when you want to unpublish your page.
- Unpublish State - From the dropdown menu, change to Unpublished.
- To publish content on a specific date:
- Click Save to publish the article.
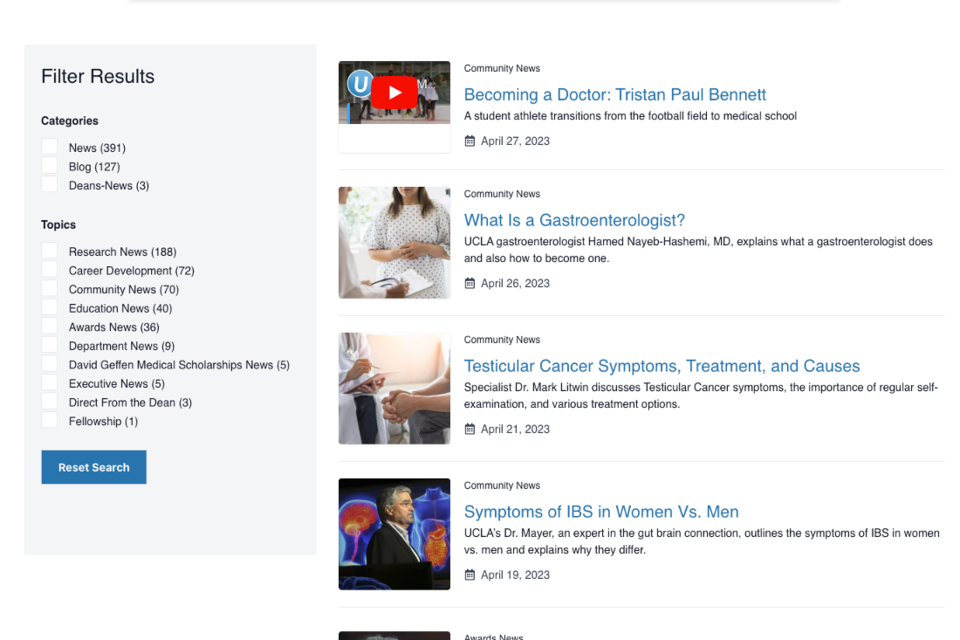
Views for Articles
Easily add an article view to any page with the Article Highlight component.
The Article Highlight component is a visually appealing news view that allows you to add articles to any page.
Example Article Highlight

Views for Events
Creating an Article View
-
Click Edit content.
-
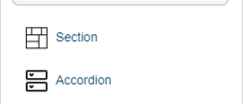
Click the plus icon where you want to place the component.
-
Select Article Highlight from the menu.
-
Add a custom Title for your Article Highlight.
-
Optional: Feature an article at the top of the list. In the Featured article field, start typing the title. Select the title you want to feature.
-
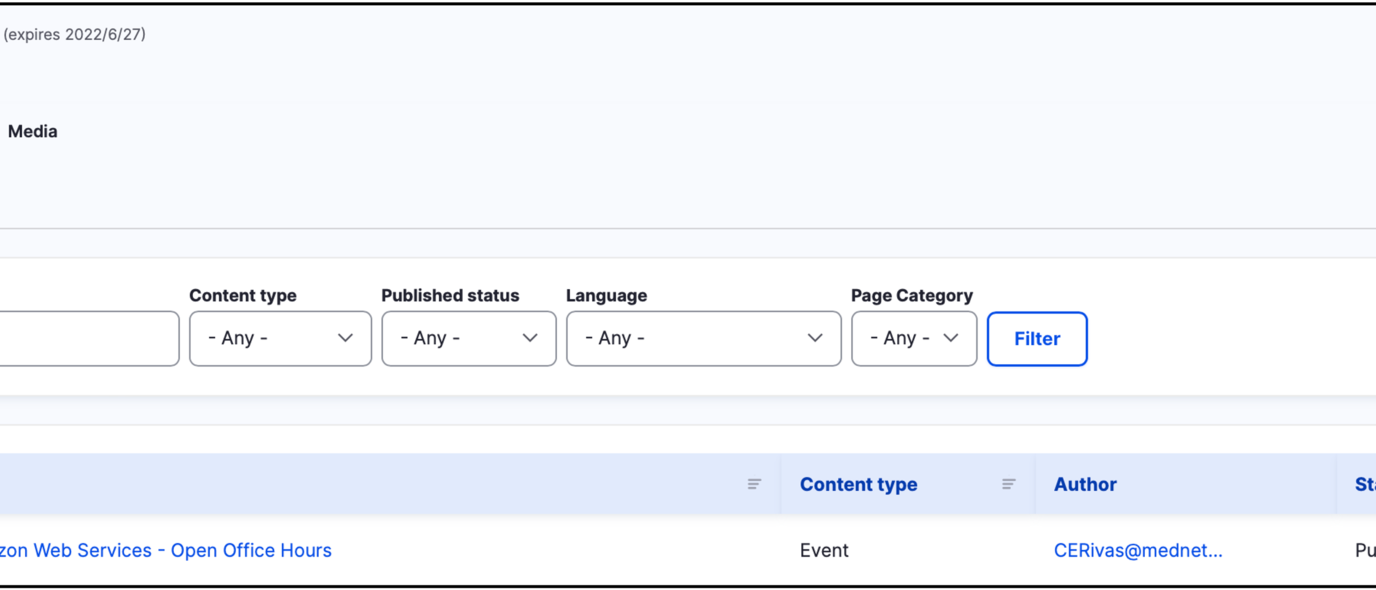
Optional: Filter the articles displayed in the view. In the Filter articles by field, start by typing an article type, category, topic, or tag. Select the term.

-
Optional: Add a link to all articles. To find a list of all the articles, enter your website and add /articles/search at the end of the path (e.g. medschool.ucla.edu/articles/search).
- Filter the articles by categories and/ or topics.

- Copy and paste the filtered search URL into the URL field.
-
Add Link Text for the URL.
- Expand Layout Options.
- In the Spacer section, you can select the amount of additional space you would like below the component. Note: By default, there is no space below a component.
- Click Save
-
Scroll to the bottom of the page and click Save.