Layout and Sections
Content Layout
Within Pages there are two types of containers to hold your content. You can think of this like tables in software such as Microsoft Word or Excel. First you need to define the number of columns in your row which Pages refers to as Sections. You can have up to four columns in a row. Once you have defined the number columns you would like in a Section, you can add a component(s) to each of your columns. A component can hold various types of content, such as images or text. An easy way to think of a component is a unique container that holds a piece(s) of content.
What is a section?
Using sections is an effective way to enhance the visual appeal of your content. When creating or editing content in the Web Platform Healthsciences, a section refers to a group of fields that are logically grouped together. This grouping improves content editing usability by organizing related fields into manageable parts. Sections also help organize content visually; for example, a page might have a header section, a main content section, a sidebar section, and a footer section. These sections aid in structuring content and enhancing the user experience.
Section in a Section
By nesting one Section within another, you can achieve greater flexibility and customization.

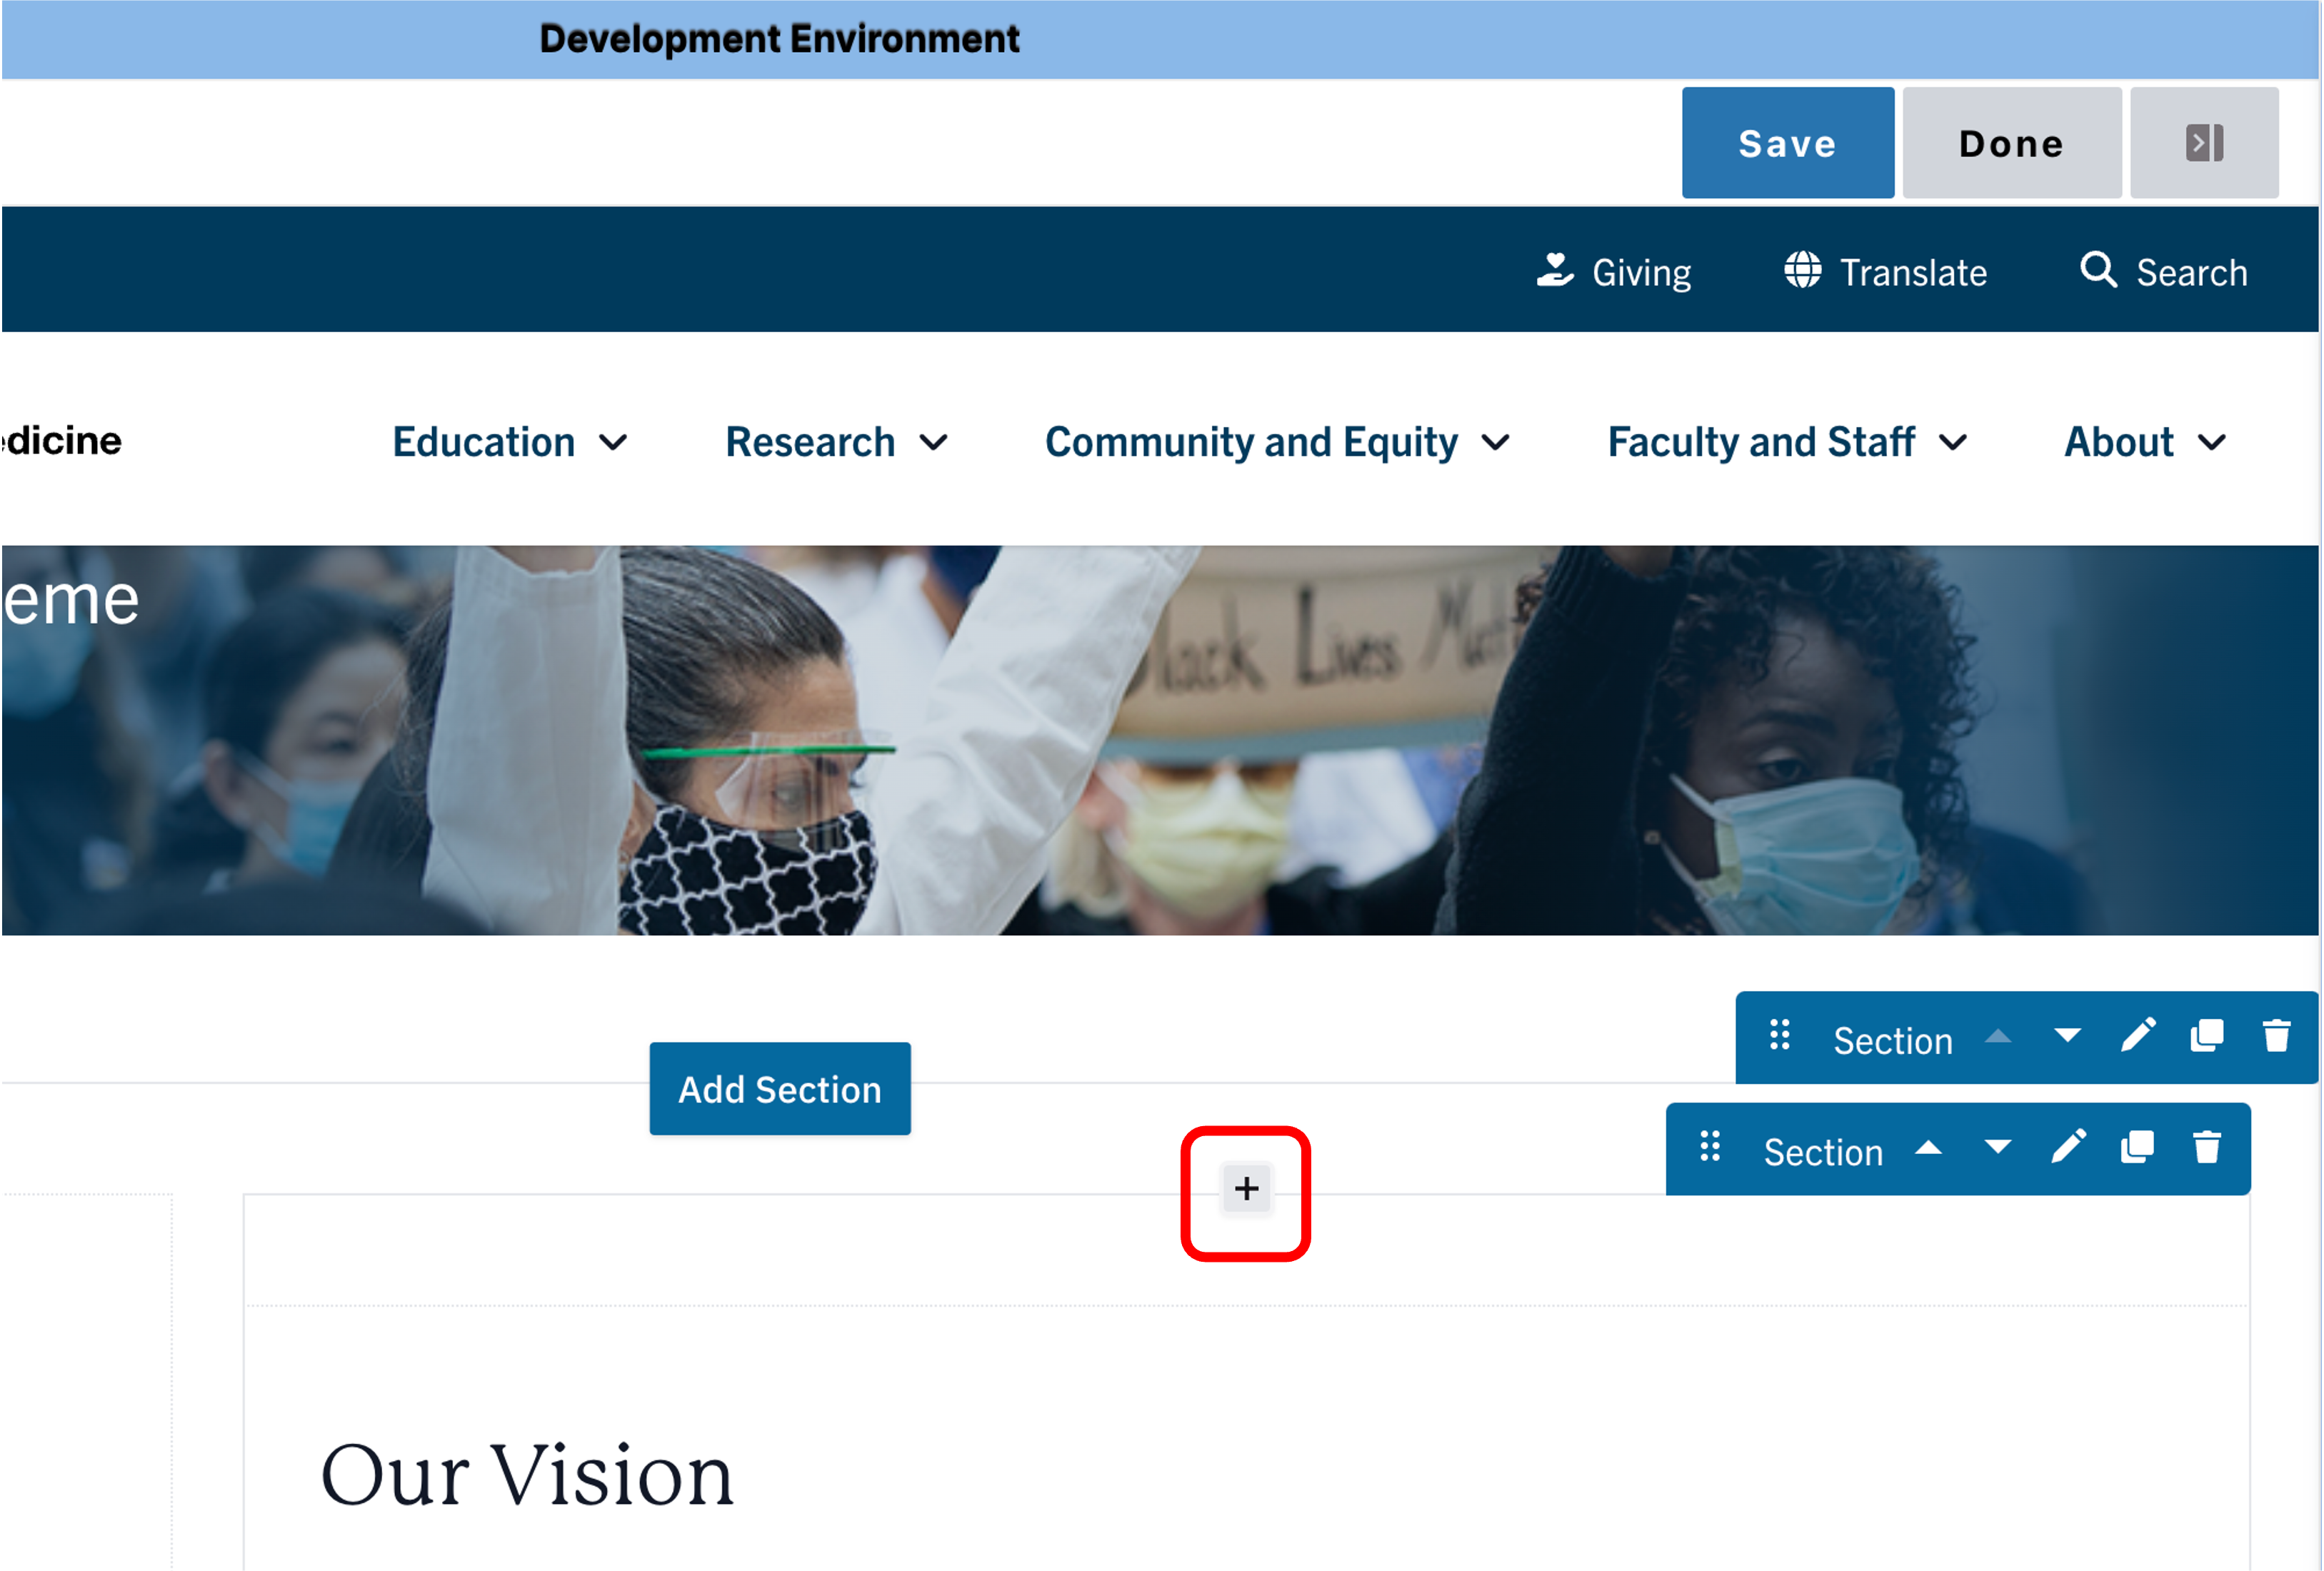
How to Add a Section
- Log in to your site.
- Click the edit link at the top of the page
- Click the Add Section button.
- Select the layout with the appropriate number of columns.
- Scroll to the top of the page and click Save.
Note: You must click save after you add each section – this step is critical.


How to add a section in a section
- Click the edit link at the top of the page
- Move your cursor where you want to place the section.
- Click the plus icon.
- Select section from the menu.
- Select the layout with the appropriate number of columns.
- Click save at the top of the page

Moving a Section
- Click Edit content at the top of the page.
- Hover your mouse over the section you would like to move.
- You will see the section menu appear on the right side, click on the 6 dots.
- Drag the section to the new location.
- Scroll to the top of the page and click Save.

Changing the Number of Columns in a Section
- Click Edit content at the top of the page.
- Hover your mouse over the section.
- You will see the section menu appear on the right side, click the Pencil icon.
- Select the desired Column layout.
- Depending on your selection, you may be presented with Move Orphaned Items. You are able to select where you want to place the existing content.
- Scroll to the bottom of the page and click Save.

Copying and Deleting a Section
Copying a Section
- When you copy a section, all the content is copied as well.
- Click Edit content at the top of the page.
- Hover your mouse over the section.
- Click the duplicate button.
- Your copied section will appear below the current section.
- Scroll to the top of the page and click Save.

Deleting a Section
- Click Edit content at the top of the page.
- Hover your mouse over the section.
- Click on the trash can icon.
- Confirm you want to delete the section.
- Scroll to the top of the page and click Save.
Alert
Background Colors
This setting is available only to site owners and should be used sparingly—ideally just once per page—to draw attention to key information.
Note: This applies only to One Column Sections.
How to apply a background highlight:
- Open the Styles tab.
- Choose a background color to highlight your components:
- None (default)
- Blue 100
- Blue 300
- Blue 500
- Blue 700
- Sand 300
- Sand 500

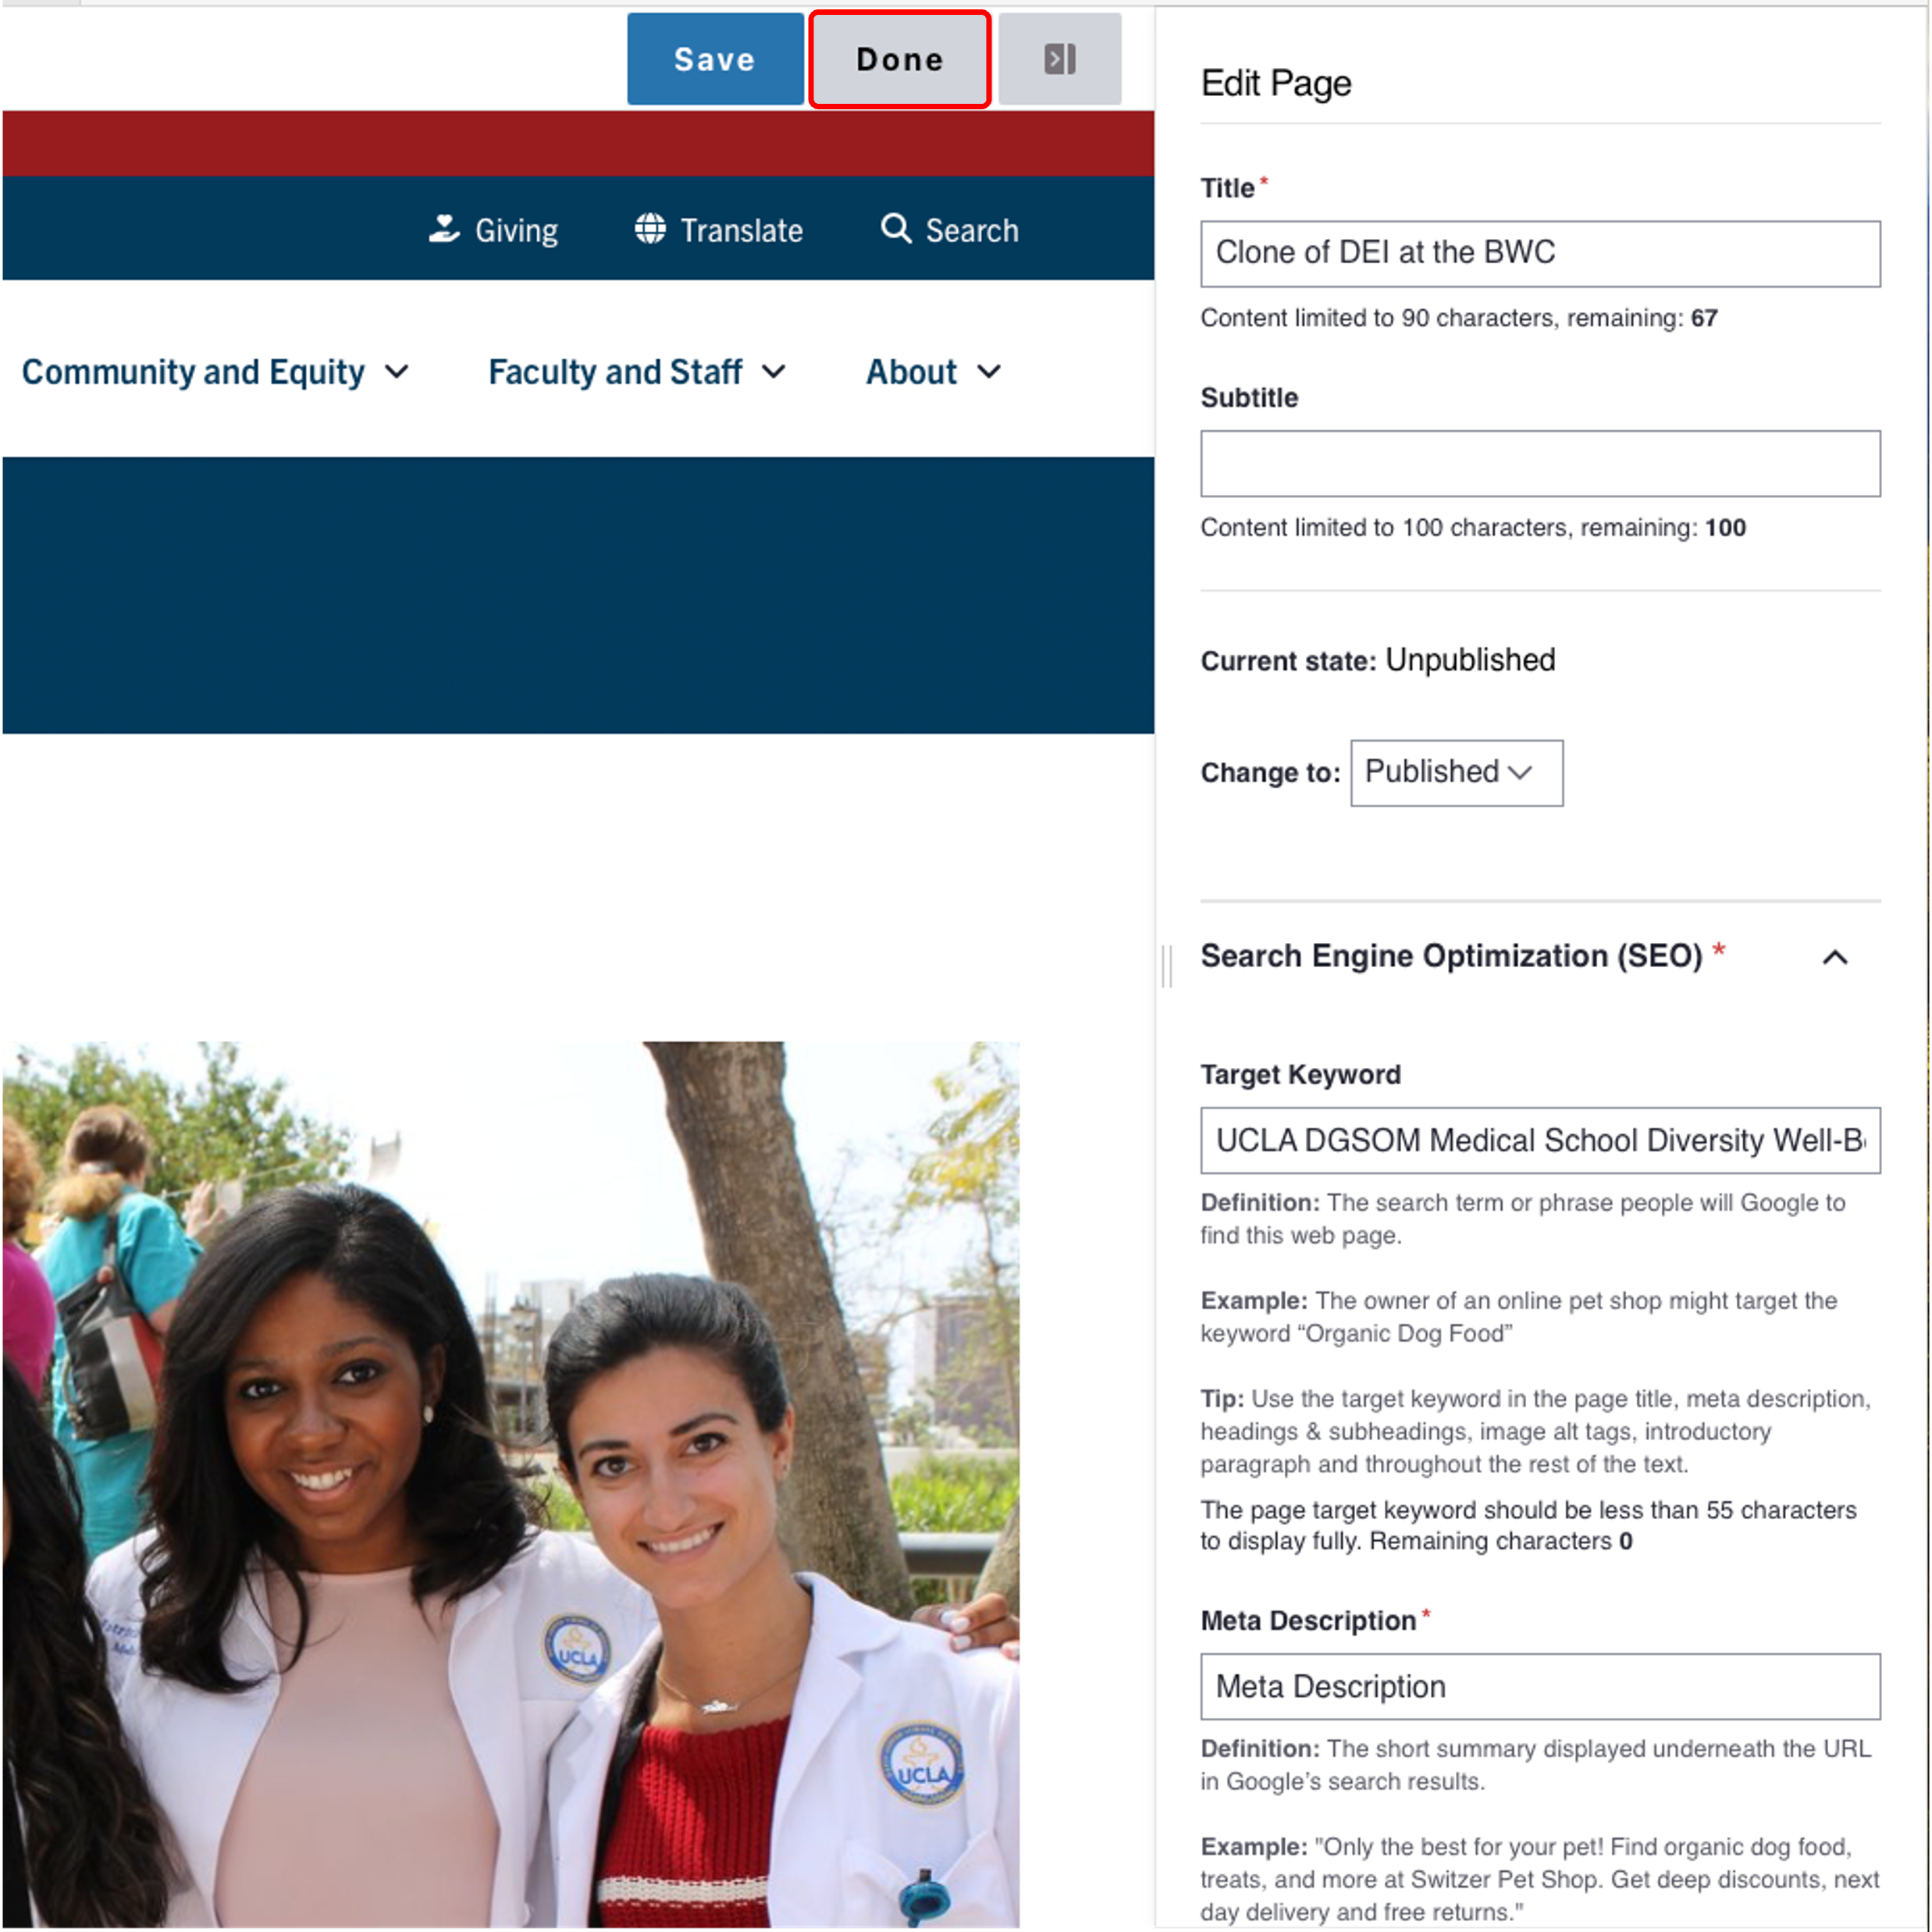
Save
- Click Save.
- Scroll to the top of the page and click Save.
- Click the Done button beside the save button.
Note: This will display the page in the closest representation of how site visitors will view it. All links and actions that are disabled in editing mode will be functional now.