Basic Options in the WYSIWYG Content Editor
To use the WYSIWYG content editor, you need to first add a text component in Layout Paragraphs. Please review the Layout Paragraphs page if you have not already done so.
Accessing the WYSIWYG Content Editor
-
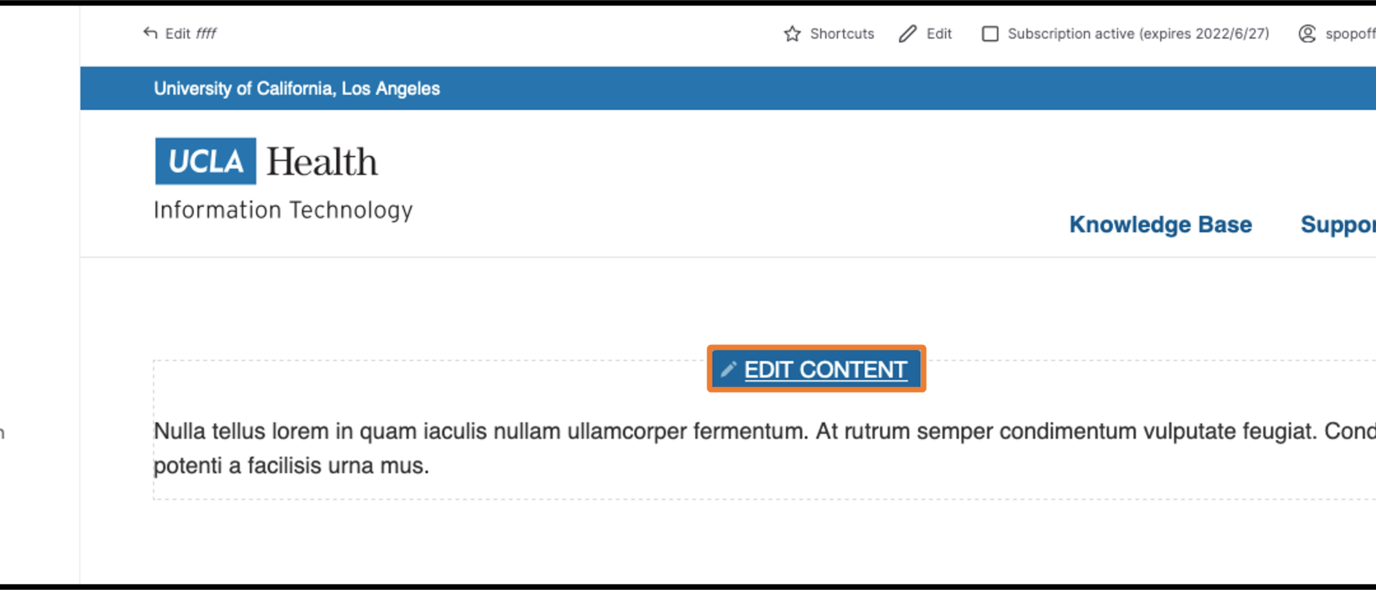
Go to the desired page where you want to add content.
- Select the Edit Content.
- Hover your mouse over the component until the pencil icon appears in the top left corner of the component and click the pencil icon.
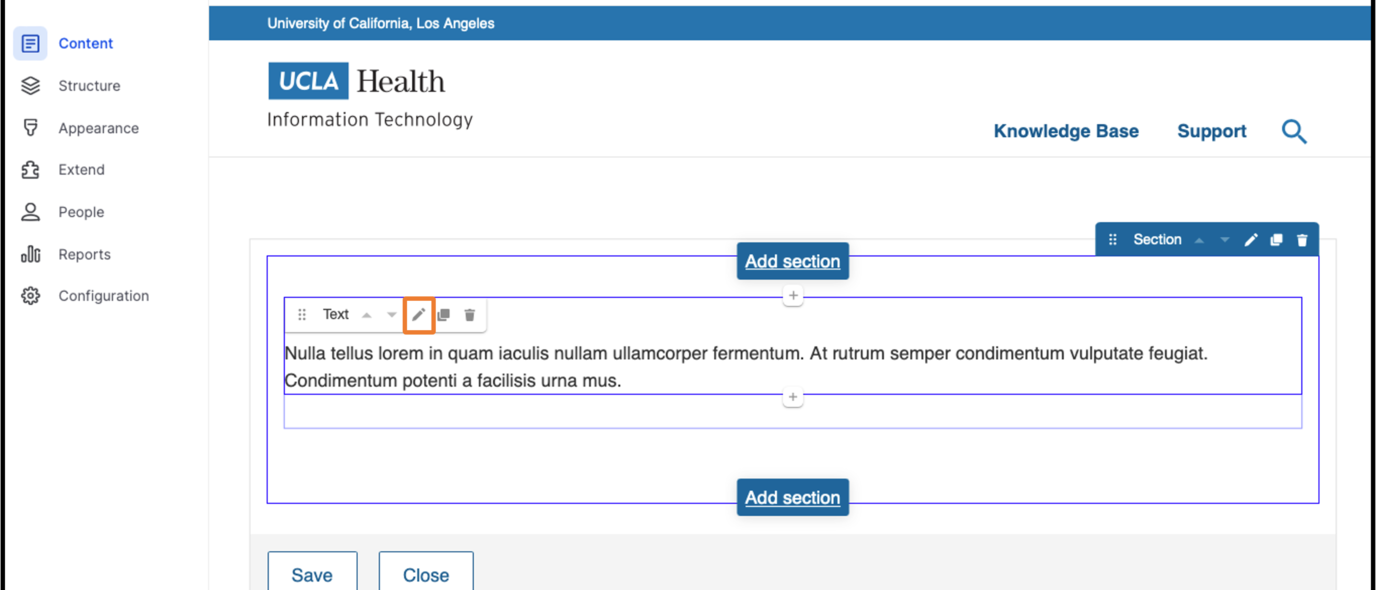
-
You will now see the WYSIWYG content editor. Further details explaining each option in the WYSIWYG Content Editor are provided below.
Explanation of the WYSIWYG Content Editor.

Format - Allows you to select the type of text you are entering so that the appropriate color and size can be applied.

Styles - Select additional formatting for your text. The options depend on the type of text selected. e.g. If you select a bullet list, you are able to change the bullets from a numbered list to an alpha list.
Bold - Highlight text and click the B icon to make it bold.
Italic - Highlight text and click the I icon to make it italic.
Insert Horizontal Line - Easily add a horizontal line or divider across the page, creating a visual break between sections of content.
Insert Special Characters - WYSIWYG characters, special unicodes for subscripts, superscripts, and proper accents.
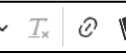
Remove Format - Removes formatting from content.
Link - Insert link to other content. If you would like to make a button, follow these instructions: Once you have made the text that you want to be a button, select the Styles option and, from the menu, select the desired button type.
Anchor link - A hyperlink that navigates users to a specific section within a webpage rather than an entirely new page. This facilitates efficient navigation, allowing users to quickly find and access the information they need without having to scroll through the entire document.
Insert Bullet List - Once you have selected a bullet list, you can apply additional formatting by changing the style.
Insert Numbered List - Once you have selected a numbered list, you can apply additional formatting by changing the style.
Decrease Indent - Clicking the outdent button decreases the indentation level, creating a more structured and organized document. This function is commonly used to adjust the formatting of lists or paragraphs, enhancing overall visual appeal and document clarity.
Increase Indent - The indent button shifts text to the right, creating a visually distinct and organized layout. This feature is often employed for creating hierarchical structures, such as bullet points or numbered lists, to improve document readability.
Block Quote - Apply the block quote style to your highlighted text.
Insert from Media Library - Select to insert media (audio, documents, images, and videos).
Undo Action - Easily correct unintended changes or mistakes, restoring to the previous state.
Redo Action - Restores changes that were undone using the "Undo" function, providing flexibility and control over the editing process.

Source - Work directly with source code (HTML code).
Saving
- Scroll to the very bottom of the page.
- Choose the appropriate option from the Save As dropdown menu (If available).
- At the bottom of the page, click Save.