Introducing Flexible Image Sizes on the Web Platform Healthsciences
Enhancing User Experience and Performance with Image Sizing

This article covers the following topics:
Overview
For over six months, we've dedicated ourselves to enhancing how our Web Platform Healthsciences handles images. Our efforts have focused on optimizing images to ensure faster load times, particularly for our mobile users. This optimization not only benefits users by improving their browsing experience but also reduces the total data consumption when accessing our platform. Addressing a long-standing issue, we looked to provide users with more than just aspect ratio options when working with images. Specifically, when adding images in the text editor or an image component, we wanted to offer an intuitive way for users to adjust the size of the image, enhancing their content presentation and providing greater flexibility.
With the introduction of our new functionality, users now have the ability to choose predefined size options, ranging from small to super large. Users retain the ability to set the aspect ratio. The Web Platform Healthsciences automatically resizes images to the chosen size, ensuring optimal display and performance on the website. This enhancement is a significant step forward in streamlining content management workflows, improving website performance, and enriching user experience. The addition of image size settings to our Web Platform Healthsciences empowers users to manage their website's content more effectively. By providing a variety of size options and automatic resizing capabilities, we aim to enhance user experience, improve website performance, and simplify content management workflows.
When the Changes will Occur
This change will be available for all users on March 28th 2024.
Using the New Feature
Image Component: How to Change the Image Size
- Login to your site.
- Go to the desired page.
- Click Edit content.
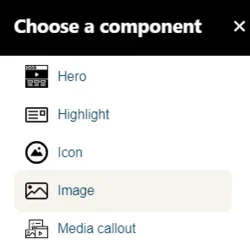
- Click the plus icon where you want to place the component.
Select Image from the menu.
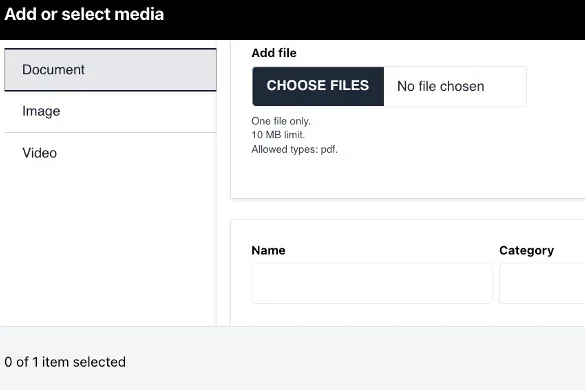
Click Add media.
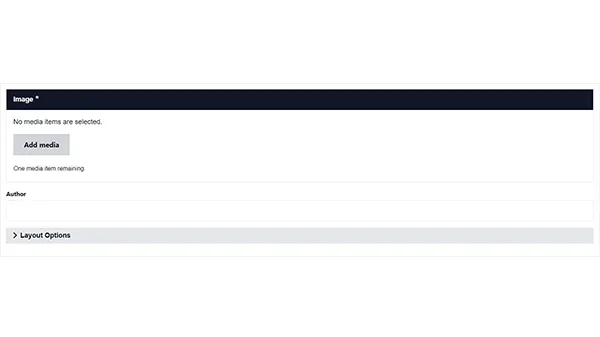
- Select the appropriate image or upload the image to the Image Library.
Recommended Image Dimensions: Largest possible in the desired aspect ratio – Maximum image size is 4MB. Expand Layout Options.

- In the Select an image size section, you can change the aspect ratio and size of the image.
- Small portrait (250x375)
- Small rectangular (240x160)
- Small square (250px)
- Medium portrait (360x540)
- Medium rectangular (480x320)
- Medium rectangular wide (720x405)
- Medium square (500px)
- Large rectangular (720x480)
- Large square (720px)
- Extra large rectangular (960x640)
- Extra large rectangular wide (960x540)
- Extra large square (960px)
- Super large full width (1376px)
- Click Save.
- Scroll to the bottom of the page and click Save.
Text Editor: How to Change the Image Size
- Login to your site.
- Go to the desired page.
- Open the content editor.
Click on the insert media button.

- Choose image.
- Select the desired image.
Click the insert selected button.
Click on the image itself and the image menu will be visible.
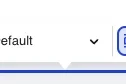
- Select the dropdown in the middle of the image menu and choose the desired aspect ratio and image size.
- Small portrait (250x375)
- Small rectangular (240x160)
- Small square (250px)
- Medium portrait (360x540)
- Medium rectangular (480x320)
- Medium rectangular wide (720x405)
- Medium square (500px)
- Large rectangular (720x480)
- Large square (720px)
- Extra large rectangular (960x640)
- Extra large rectangular wide (960x540)
- Extra large square (960px)
- Super large full width (1376px)
- Click save.
Additional Resources
Co-working Sessions
Register for the next Co-working Session for answers to your questions about this update.